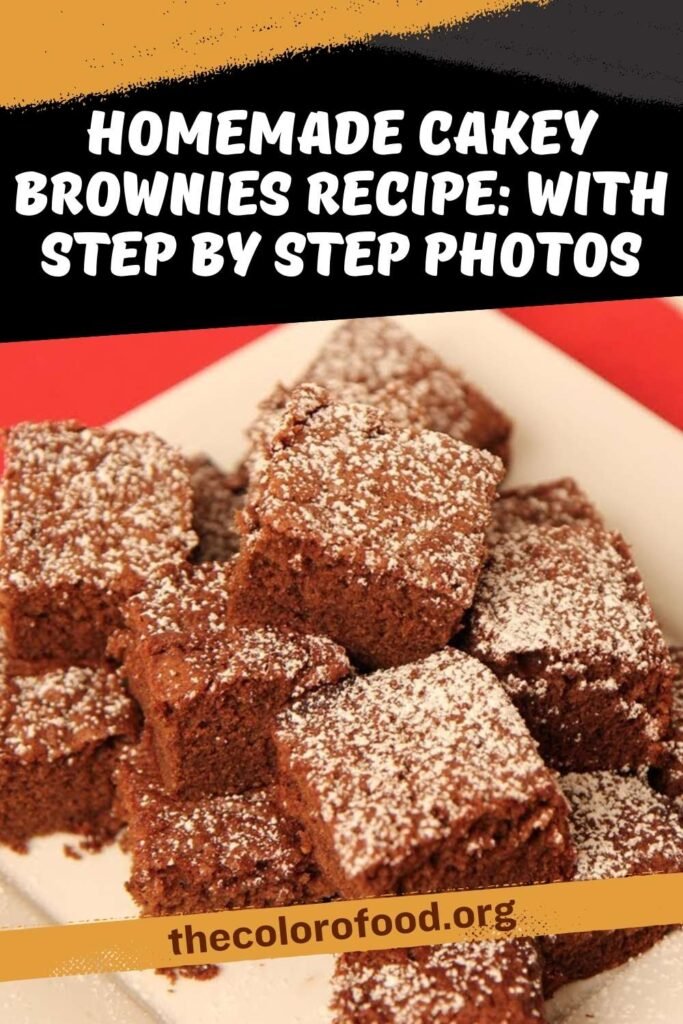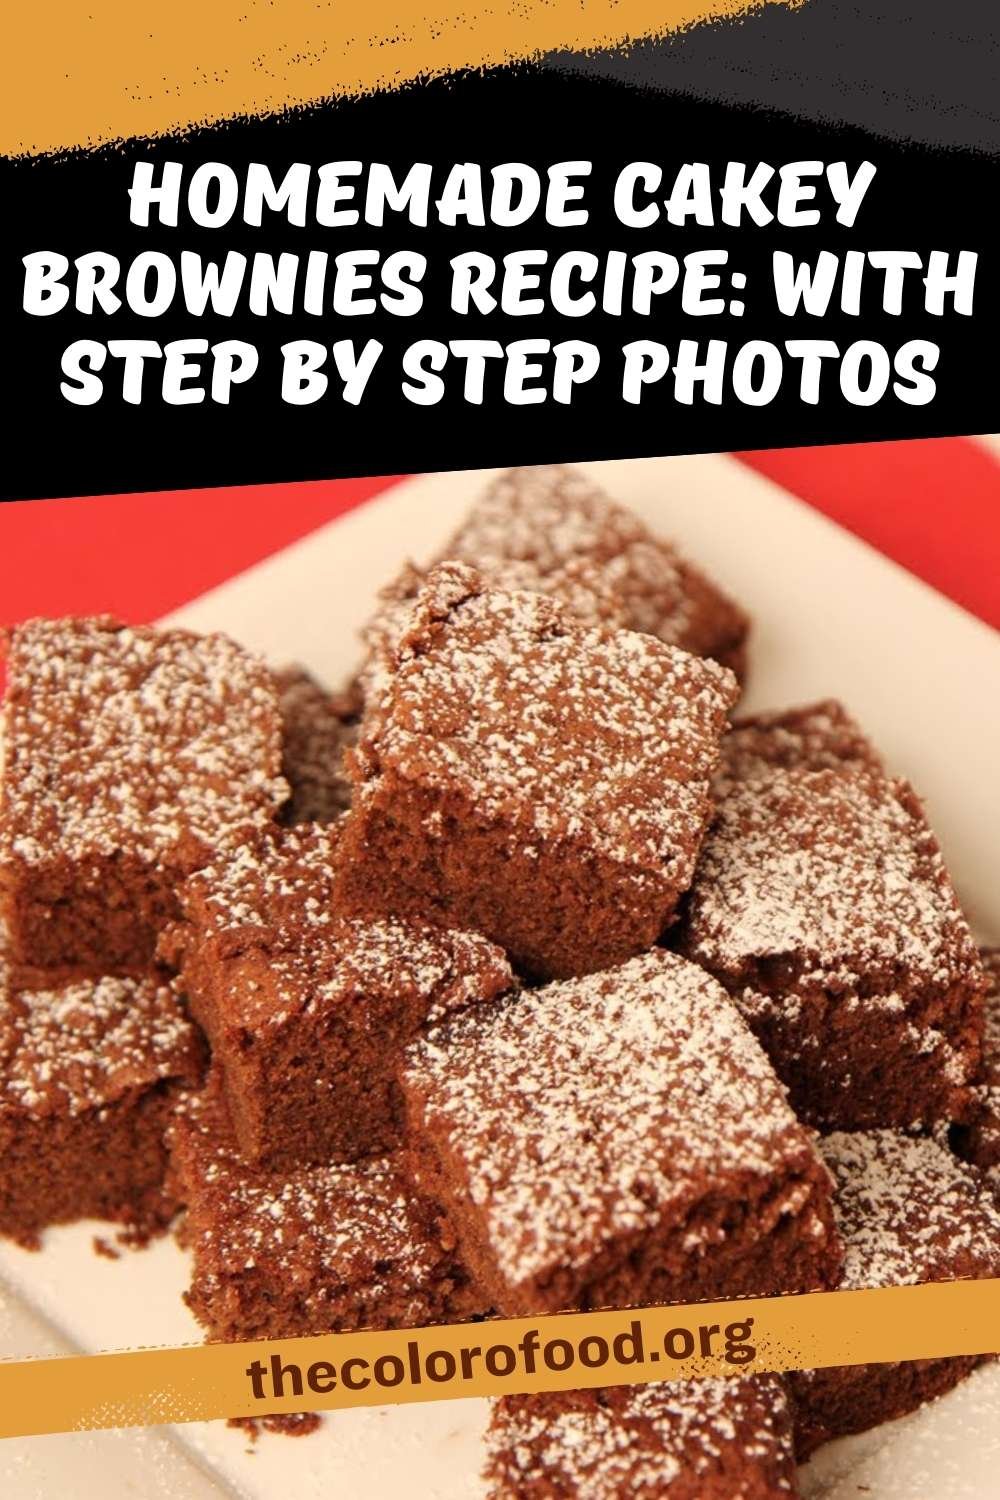
Indulge in the ultimate fudgy brownies with this detailed recipe that delivers rich, decadent chocolate flavor in every bite. These brownies feature a dense, moist texture perfect for chocolate lovers, made simple with straightforward steps using high-quality ingredients.
Ingredients
- 5 ounces of Unsalted Butter, at room temperature
- 7 ounces of Bittersweet Chocolate, melted
- 1 Cup of Sugar
- 2 tsp of Vanilla Extract
- ¼ tsp of Salt
- 1 Tbsp Cocoa Powder
- 2 Large Eggs
- 2 Tbsp of warm Water
- 1 tsp of Instant Espresso Powder
- 2/3 Cup of All Purpose Flour
1. Essential Equipment Guide
- 8×8 inch square baking pan
- Parchment paper
- Non-stick cooking spray
- Large mixing bowl
- Whisk
- Spatula
- Small cup or bowl for espresso mixture
- Microwave-safe bowl for melting chocolate
- Measuring cups and spoons
- Toothpick for testing doneness
Recipe Timing and Yield
- Prep Time: 15 minutes
- Cook Time: 40 to 45 minutes
- Servings: 8
Step 1: Preheat and Prepare the Pan
Start by preheating your oven to 350 degrees Fahrenheit to ensure even baking from the outset. Take your 8 by 8 inch square baking pan and give it a thorough spray with non-stick cooking spray, covering the bottom and sides evenly to prevent any sticking issues. Cut a piece of parchment paper to fit the bottom of the pan, allowing some overhang on the sides for easy removal later; press it down firmly after spraying to secure it in place. This setup guarantees your brownies lift out cleanly, preserving their perfect edges and fudgy centers without any breakage.
Step 2: Prepare the Espresso Mixture
In a small cup or bowl, combine 2 tablespoons of warm water with 1 teaspoon of instant espresso powder, stirring until it fully dissolves into a smooth liquid. This step enhances the chocolate’s depth without overpowering the flavor, creating an intense richness that elevates the brownies from good to unforgettable. If instant espresso is unavailable, substitute with strong brewed coffee, but avoid granules to keep the texture smooth; let this mixture sit briefly while you move to the next steps for optimal integration.
Step 3: Cream Butter and Sugar
Position your large mixing bowl on a stable surface and add 5 ounces of unsalted butter at room temperature along with 1 cup of sugar. Begin by using a spatula to roughly combine them, pressing and folding until the sugar starts incorporating into the butter, which helps break up any lumps early. Switch to a whisk and beat vigorously until the mixture becomes light, fluffy, and pale in color, taking about 2 to 3 minutes of consistent effort; this creaming process traps air for the batter’s signature mousse-like texture before baking. Scrape down the sides of the bowl occasionally to ensure everything mixes evenly, avoiding dense spots in your final brownies.
Step 4: Incorporate Eggs and Flavorings
Crack 2 large eggs into the butter-sugar mixture, followed by 2 teaspoons of vanilla extract and the prepared espresso mixture. Whisk everything together briskly until fully combined and smooth, which should take no more than 1 minute; the batter will look glossy and slightly thickened at this stage. Be gentle to avoid overbeating the eggs, which could make the brownies too airy; instead, aim for just enough mixing to emulsify the ingredients seamlessly. Taste a tiny bit if desired (raw eggs notwithstanding) to confirm the vanilla’s aroma shines through.
Step 5: Add Melted Chocolate
Melt 7 ounces of bittersweet chocolate in a microwave-safe bowl, heating in 15-second intervals and stirring thoroughly each time to prevent scorching or uneven melting. Once fully liquid and smooth, pour it into the wet batter and whisk continuously until it blends completely, creating a deep, velvety base. The bittersweet variety balances the sugar perfectly, ensuring the brownies remain decadent without being overly sweet; scrape every last drop from the bowl to maximize chocolate intensity. Let the mixture cool slightly if too hot, preserving the batter’s structure.
Step 6: Mix Dry Ingredients
In a separate small bowl, whisk together 2/3 cup of all-purpose flour, 1 tablespoon of cocoa powder, and ¼ teaspoon of salt until uniform and lump-free. This dry mix provides structure and amplifies the chocolate notes without overpowering the fudginess. Sift if needed to aerate the flour, promoting tenderness in the final product.
Step 7: Combine Wet and Dry
Gently fold the dry ingredients into the chocolate batter using a spatula, mixing with broad strokes until just incorporated; stop immediately once no flour streaks remain to prevent tough, overmixed brownies. The batter should appear thick, fluffy, and mousse-like, holding soft peaks when lifted; this is the hallmark of true fudgy brownies versus cakey ones. Avoid aggressive stirring, as it develops gluten and ruins the texture.
Step 8: Spread Batter Evenly
Pour the batter into the prepared pan, using the spatula to spread it into an even layer, tapping the pan lightly on the counter to release air bubbles. Pay extra attention to corners and edges for uniform thickness, ensuring every brownie bakes consistently. Smooth the top gently for a professional finish.
Step 9: Bake to Perfection
Place the pan in the preheated oven and bake for 40 to 45 minutes. Test doneness by inserting a toothpick into the center; it should emerge with moist crumbs attached, not wet batter or clean, signaling ideal fudginess. Rotate the pan halfway through if your oven heats unevenly, and resist peeking too often to maintain steady heat. Ovens vary, so start checking at 40 minutes.
Step 10: Cool Completely
Remove from the oven and cool in the pan for 5 minutes, then use the parchment overhang to lift onto a wire rack for full cooling, which may take 1 to 2 hours. This prevents crumbling during cutting and allows flavors to meld fully. Patience here yields clean slices and maximum chew.
Step 11: Cut and Serve
Once fully cooled, cut into squares or bars using a sharp knife wiped clean between cuts for neat edges. Store leftovers in an airtight container at room temperature for up to 3 days or refrigerate for a week, bringing to room temp before enjoying.
Comprehensive Baking Tips
- Room temperature butter is crucial: Cold butter leads to uneven creaming and grainy texture; soften it by cutting into pieces and leaving out for 30 to 60 minutes, or use the microwave defrost setting sparingly (5-second bursts). This ensures maximum air incorporation for fluffiness.
- Chocolate melting mastery: Bittersweet chocolate’s lower sugar content intensifies flavor; chop into even pieces for uniform melting. Stir post-microwave to distribute heat, avoiding hot spots that seize the chocolate. Double-boiler alternative works if microwave unavailable.
- Espresso enhancement explained: Even coffee skeptics benefit; it cuts bitterness and boosts chocolate notes via chemical interaction, undetectable as coffee. Dissolve fully in warm (not boiling) water to prevent grit. Skip for purists, but try once for conversion.
- Avoid overmixing dry ingredients: Gentle folding preserves tenderness; overdeveloping gluten toughens. Use spatula’s flat side for cutting motion, folding from bottom up repeatedly until barely combined. Batter should resist slightly, not pour like cake batter.
- Pan prep perfection: Parchment overhang acts as handles; spray underneath too for adhesion. Metal pans conduct heat best for edges that crisp lightly while center stays fudgy. Glass takes longer, adjust time up 5 minutes.
- Toothpick test nuances: Moist crumbs mean done; clean means overbaked (dry), wet batter underdone (gooey). Center cools slower, so edge tests mislead. High altitude? Bake 5 minutes longer, reduce sugar slightly.
- Cooling strategy: Initial pan rest sets structure; rack prevents soggy bottoms. Refrigerate uncut for firmer fudginess if humid. Warm brownies cut messily, ruining presentation.
- Storage and freezing: Airtight prevents drying; layer with parchment. Freeze whole, thaw overnight in fridge, then room temp. Reheats in microwave 10 seconds for fresh-baked gooeyness.
- Scaling up safely: Double for 9×13 pan, bake 45-50 minutes; watch closely. Flour precision matters; spoon and level, don’t pack.
- Troubleshooting common issues: Sunken center? Overmixed or oven too hot. Cracked top? Normal for fudgy style. Pale? Check preheat thermometer accuracy.
Nutritional Information
| Nutrient (per serving, approx.) | Amount | % Daily Value* |
|---|---|---|
| Calories | 320 | 16% |
| Total Fat | 20g | 26% |
| Saturated Fat | 12g | 60% |
| Cholesterol | 70mg | 23% |
| Sodium | 100mg | 4% |
| Total Carbohydrates | 35g | 13% |
| Dietary Fiber | 2g | 7% |
| Sugars | 28g | – |
| Protein | 4g | 8% |
| *Based on 2,000 calorie diet; estimates from ingredients. [generated] |
Pairings
- Vanilla ice cream for melty contrast
- Fresh strawberries to cut richness
- Whipped cream dollop
- Strong coffee or milk
- Sea salt sprinkle post-bake
Variations
- Add chopped walnuts or pecans for crunch
- Swirl in peanut butter before baking
- Top with ganache after cooling
- Use dark chocolate for deeper intensity
- Incorporate raspberries for tartness