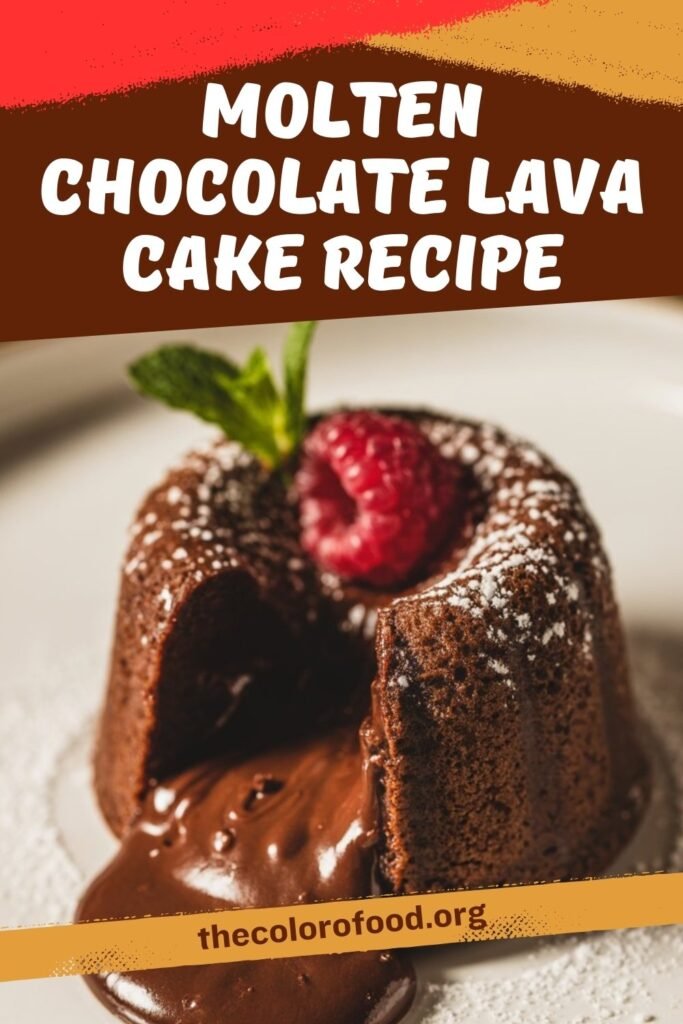
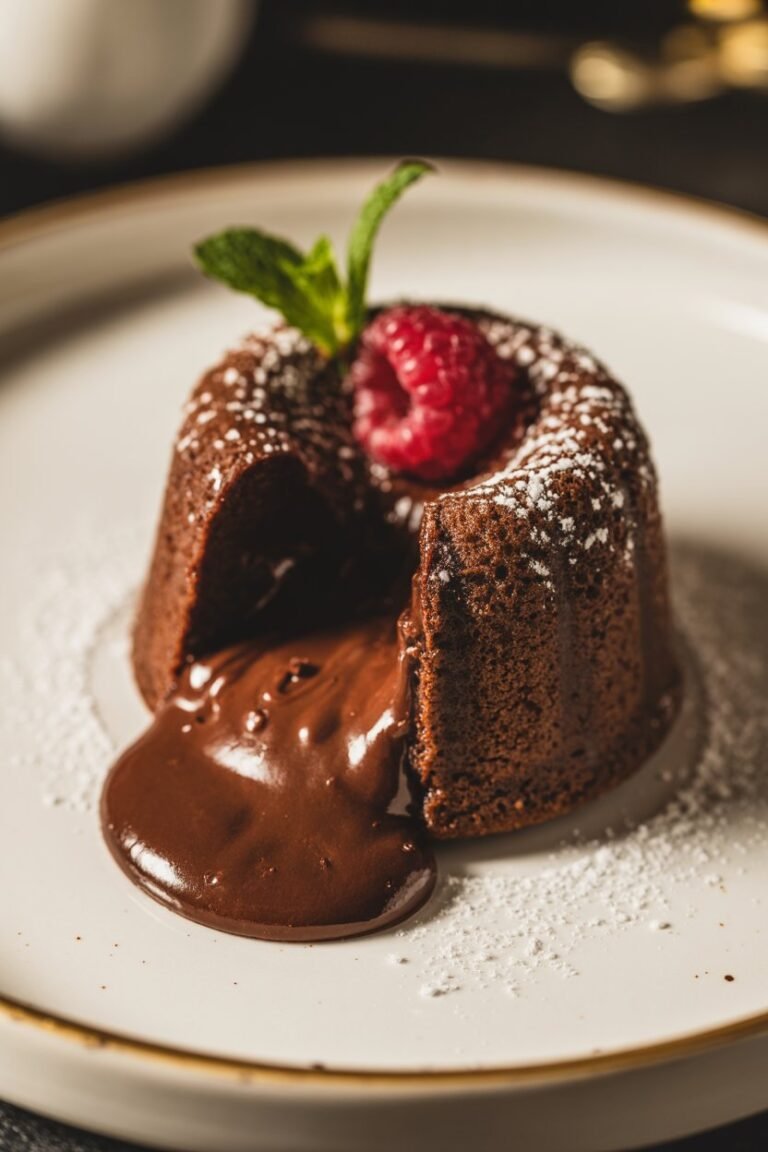
Molten chocolate lava cake is a rich individual dessert with a soft, cakey exterior and a warm, flowing chocolate center, served over a pool of melted vanilla ice cream and topped with fresh raspberries for balance.
Ingredients
- 1 pack (6 squares) Baker’s semisweet chocolate
- 1 stick butter
- 1 1/4 cups powdered sugar
- 1/2 cup all purpose flour
- 3 whole eggs
- 3 egg yolks
- 1/2 tsp vanilla extract
- 1/2 pint raspberries
- 1 cup vanilla ice cream
- Non stick baking spray
1. Prepare the ramekins and oven
Start by arranging four 8 ounce ramekins on a baking sheet so they are easy to move in and out of the oven without spilling the delicate batter. Preheat the oven to 425 degrees F, then generously spray the inside of each ramekin with non stick baking spray, making sure to coat the bottom and sides so the cakes release cleanly later.
2. Soften and prep the vanilla ice cream
Before you begin the batter, take the vanilla ice cream out of the freezer and leave it at room temperature for about 1 hour, or until it is completely melted yet still cold to the touch. This melted ice cream will serve as a silky sauce under each lava cake, mimicking a classic crème anglaise without the extra cooking steps and providing a cool contrast to the hot center.
3. Melt the chocolate and butter
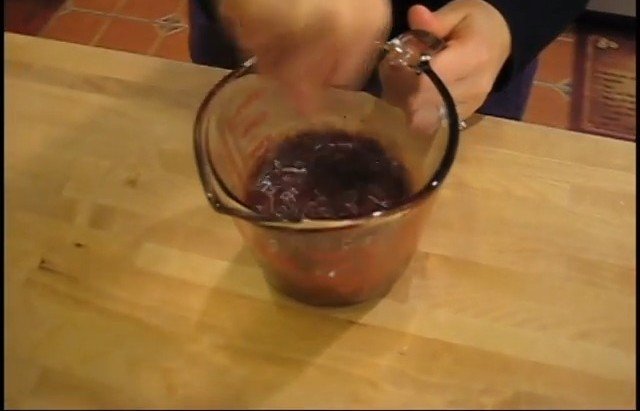
Place the six squares of Baker’s semisweet chocolate into a large microwave safe bowl or a big heatproof measuring jug, cutting the chocolate pieces in half so they melt more evenly. Add the stick of butter, cut into chunks, then microwave for about 2 minutes until both butter and chocolate are fully melted; stir until the mixture is smooth and glossy with no visible lumps.
4. Mix in the dry ingredients
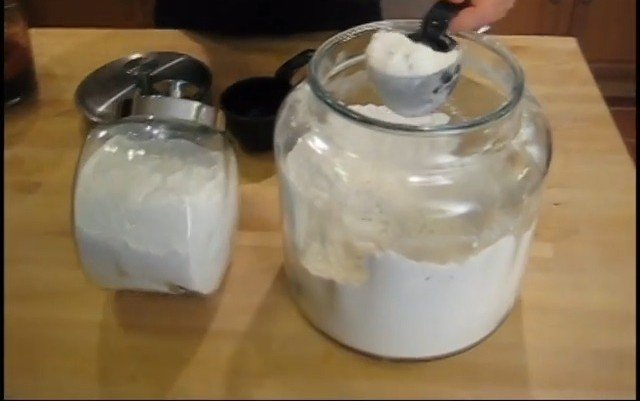
To the warm chocolate butter mixture, add the powdered sugar and whisk until the sugar is dissolved and the mixture looks thick and uniform. Sprinkle in the all purpose flour and whisk again, making sure to incorporate it fully so there are no dry streaks, which helps the outer cake set properly while the center stays molten.
5. Add eggs and vanilla for a silky batter
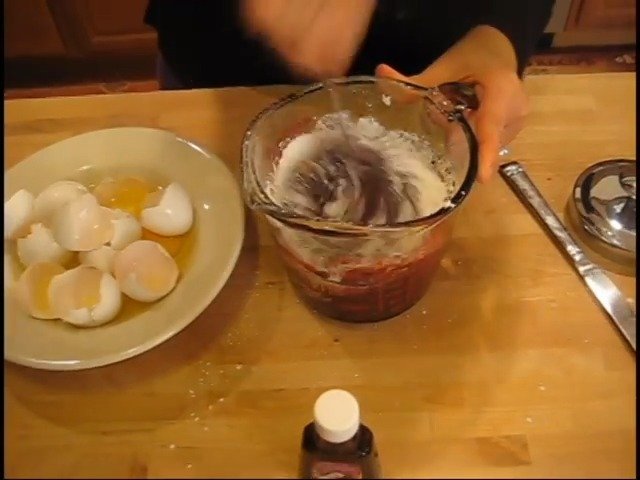
Crack three whole eggs into the bowl, then add three additional egg yolks, which enrich the batter and contribute to the soft, custardy interior. Pour in the vanilla extract and whisk vigorously until the batter is completely smooth, slightly thick, and well blended, with a pourable consistency that will divide easily among the ramekins.
6. Fill the ramekins
Carefully divide the batter evenly among the four prepared ramekins, using the spout of the large measuring cup or a spoon to keep the rims as clean as possible. Tap the baking sheet lightly on the counter to release any air bubbles, which promotes an even crumb around the edges while helping maintain that luxurious molten center.
7. Bake to achieve a molten center
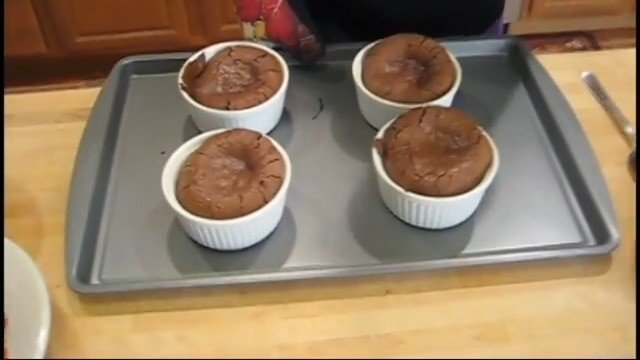
Slide the baking sheet with the filled ramekins into the preheated 425 degree F oven and bake for about 14 to 15 minutes, just until the edges of the cakes look set but the centers still appear soft and slightly jiggly. Removing the cakes at this point ensures that the outside has formed a tender structure while the middle remains fluid, creating the signature lava effect when you cut into the dessert.
8. Rest, release, and invert the cakes
Once baked, let the ramekins stand for about 1 minute so the cakes can settle and become easier to unmold without tearing. Run a small knife or thin spatula around the inside edge of each ramekin to loosen the cake, then carefully invert each one onto a shallow dessert dish, lifting the ramekin away so the cake sits neatly in the center.
9. Prepare the raspberry and ice cream presentation
Spoon about 1/4 cup of the melted vanilla ice cream onto each plate, pooling it around the base of the lava cake as a creamy sauce. Arrange fresh raspberries over the top of the cake and scatter a few into the sauce around it, then finish with a light dusting of powdered sugar over the top for a delicate, elegant look.
10. Serving and make ahead tips
Serve the molten chocolate lava cakes immediately while the centers are still warm and flowing, allowing each guest to cut into the cake and watch the chocolate filling spill into the vanilla ice cream sauce.
For partial make ahead convenience, you can assemble the batter and fill the ramekins earlier in the day, refrigerate them, then bring them slightly closer to room temperature before baking so they still cook evenly and deliver that classic soft center. When baking from chilled, be ready to adjust the timing slightly by a minute or two, keeping a close eye on the edges so they set without overcooking the middle, which would turn the dessert into a regular chocolate cake instead of a lava style one.
11. Detailed success tips
To achieve a consistently molten center, focus closely on timing and visual cues rather than just the clock, looking for cakes that are puffed and set around the edges but still gently soft in the middle, a sign that the interior has not fully solidified.
Using semisweet chocolate keeps the flavor deep and balanced, and the powdered sugar dissolves easily into the warm mixture, avoiding any graininess so the molten interior has a velvety, almost truffle like texture. Greasing the ramekins thoroughly with non stick spray and allowing the cakes to rest briefly after baking are small but important steps that help the cakes release in one piece when inverted, preserving the contrast between the delicate outer shell and the liquid center.
Letting vanilla ice cream melt into a pourable, cool sauce saves time compared with cooking a separate custard and provides a temperature contrast that enhances the richness of the chocolate while the fresh raspberries add bright acidity and a bit of freshness so the dessert tastes balanced rather than heavy.
Essential equipment guide
- Four 8 ounce ramekins
- Baking sheet
- Large microwave safe bowl or large heatproof measuring cup
- Microwave
- Whisk
- Measuring cups and spoons
- Small knife or thin spatula for loosening cakes
- Shallow dessert bowls or plates
Nutritional information
Approximate per serving, assuming 4 servings.
| Nutrient | Amount (per serving) |
|---|---|
| Calories | ~390 kcal |
| Carbohydrates | ~45 g |
| Protein | ~5 g |
| Total Fat | ~23 g |
| Saturated Fat | ~16 g |
| Cholesterol | ~260 mg |
| Sodium | ~120 mg |
| Fiber | ~3 g |
| Sugars | ~26 g |
Pairings
- Strong espresso or hot coffee to cut through the richness of the chocolate and butter.
- Dessert wine such as a ruby port or sweet red that echoes the berry and chocolate notes.
- Extra fresh berries like strawberries or blackberries alongside the raspberries for added freshness.
- Lightly sweetened whipped cream if you want an alternative or addition to the melted vanilla ice cream.
Variations
- Swap raspberries for sliced strawberries or a mixed berry medley to change the fruit accent.
- Use a different high quality chocolate, such as bittersweet, for a more intense cocoa flavor and slightly less sweetness.
- Add a teaspoon of instant espresso powder to the batter to deepen the chocolate taste.
- Infuse the melted ice cream with a splash of liqueur such as raspberry liqueur or coffee liqueur for a more grown up twist.
Time and servings
- Prep time: about 10 minutes, plus 1 hour for melting the ice cream at room temperature.
- Cook time: 14 to 15 minutes.
- Servings: makes 4 individual molten chocolate lava cakes.
Molten Chocolate Lava Cake Recipe
Molten chocolate lava cake is a rich individual dessert with a soft, cakey exterior and a warm, flowing chocolate center, served over a pool of melted vanilla ice cream and topped with fresh raspberries for balance.
- Total Time: 25 Mins
Ingredients
- 1 pack (6 squares) Baker’s semisweet chocolate
- 1 stick butter
- 1 1/4 cups powdered sugar
- 1/2 cup all purpose flour
- 3 whole eggs
- 3 egg yolks
- 1/2 tsp vanilla extract
- 1/2 pint raspberries
- 1 cup vanilla ice cream
- Non stick baking spray
Instructions
Start by arranging four 8 ounce ramekins on a baking sheet so they are easy to move in and out of the oven without spilling the delicate batter. Preheat the oven to 425 degrees F, then generously spray the inside of each ramekin with non stick baking spray, making sure to coat the bottom and sides so the cakes release cleanly later.
2. Soften and prep the vanilla ice creamBefore you begin the batter, take the vanilla ice cream out of the freezer and leave it at room temperature for about 1 hour, or until it is completely melted yet still cold to the touch. This melted ice cream will serve as a silky sauce under each lava cake, mimicking a classic crème anglaise without the extra cooking steps and providing a cool contrast to the hot center.
3. Melt the chocolate and butterPlace the six squares of Baker’s semisweet chocolate into a large microwave safe bowl or a big heatproof measuring jug, cutting the chocolate pieces in half so they melt more evenly. Add the stick of butter, cut into chunks, then microwave for about 2 minutes until both butter and chocolate are fully melted; stir until the mixture is smooth and glossy with no visible lumps.
4. Mix in the dry ingredientsTo the warm chocolate butter mixture, add the powdered sugar and whisk until the sugar is dissolved and the mixture looks thick and uniform. Sprinkle in the all purpose flour and whisk again, making sure to incorporate it fully so there are no dry streaks, which helps the outer cake set properly while the center stays molten.
5. Add eggs and vanilla for a silky batterCrack three whole eggs into the bowl, then add three additional egg yolks, which enrich the batter and contribute to the soft, custardy interior. Pour in the vanilla extract and whisk vigorously until the batter is completely smooth, slightly thick, and well blended, with a pourable consistency that will divide easily among the ramekins.
6. Fill the ramekinsCarefully divide the batter evenly among the four prepared ramekins, using the spout of the large measuring cup or a spoon to keep the rims as clean as possible. Tap the baking sheet lightly on the counter to release any air bubbles, which promotes an even crumb around the edges while helping maintain that luxurious molten center.
7. Bake to achieve a molten centerSlide the baking sheet with the filled ramekins into the preheated 425 degree F oven and bake for about 14 to 15 minutes, just until the edges of the cakes look set but the centers still appear soft and slightly jiggly. Removing the cakes at this point ensures that the outside has formed a tender structure while the middle remains fluid, creating the signature lava effect when you cut into the dessert.
8. Rest, release, and invert the cakesOnce baked, let the ramekins stand for about 1 minute so the cakes can settle and become easier to unmold without tearing. Run a small knife or thin spatula around the inside edge of each ramekin to loosen the cake, then carefully invert each one onto a shallow dessert dish, lifting the ramekin away so the cake sits neatly in the center.
9. Prepare the raspberry and ice cream presentationSpoon about 1/4 cup of the melted vanilla ice cream onto each plate, pooling it around the base of the lava cake as a creamy sauce. Arrange fresh raspberries over the top of the cake and scatter a few into the sauce around it, then finish with a light dusting of powdered sugar over the top for a delicate, elegant look.
10. Serving and make ahead tipsServe the molten chocolate lava cakes immediately while the centers are still warm and flowing, allowing each guest to cut into the cake and watch the chocolate filling spill into the vanilla ice cream sauce.
For partial make ahead convenience, you can assemble the batter and fill the ramekins earlier in the day, refrigerate them, then bring them slightly closer to room temperature before baking so they still cook evenly and deliver that classic soft center. When baking from chilled, be ready to adjust the timing slightly by a minute or two, keeping a close eye on the edges so they set without overcooking the middle, which would turn the dessert into a regular chocolate cake instead of a lava style one.
- Prep Time: 10 Mins
- Cook Time: 15 Mins