Irish Boxty is a traditional potato pancake that beautifully combines both mashed and grated potatoes into one comforting dish. The result is a crispy exterior with a soft, fluffy interior that feels both hearty and satisfying. This recipe follows a classic preparation method using simple pantry ingredients and a straightforward cooking technique that delivers consistent results every time.
Below, you will find a detailed, step-by-step guide to help you recreate this dish at home with confidence.
Ingredients
- 1 cup mashed potatoes
- 1 large (or 2 medium) russet potatoes, peeled, grated, soaked in cold water, then squeezed dry
- 1 cup all purpose flour
- 1 teaspoon baking soda
- 1 1/2 teaspoons salt (use less if using fine salt)
- 3 scallions, finely chopped
- Black pepper to taste
- 1 1/4 cups buttermilk
- Olive oil for cooking
1. Prepare the Potatoes Properly
Start by working on the raw potatoes. After peeling and grating them, immediately place them in a bowl of cold water. This step is important because it removes excess starch and prevents discoloration. Let them sit for a few minutes.
Once soaked, drain the potatoes and squeeze out as much moisture as possible. You can use a clean kitchen towel or cheesecloth for this. Removing water is crucial because excess moisture will make the batter too loose and prevent crisping.
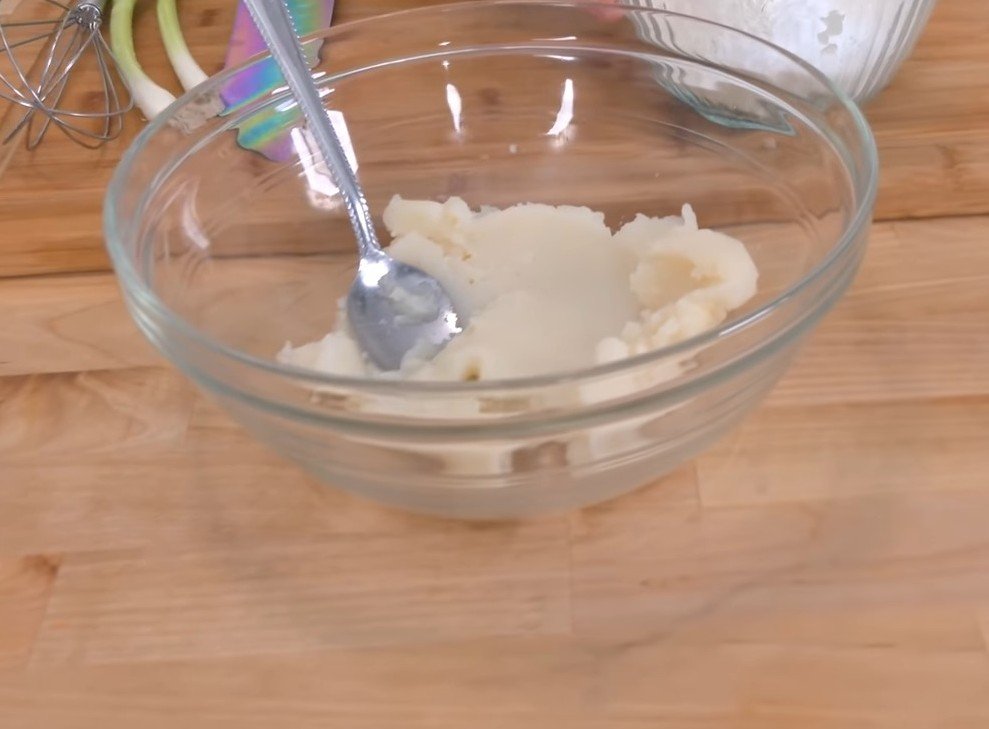
At the same time, ensure your mashed potatoes are smooth and lump free. Cold mashed potatoes work perfectly here and even enhance the texture.
2. Combine the Dry Ingredients
In a large mixing bowl, add the flour, baking soda, and salt. Whisk them together thoroughly so the baking soda is evenly distributed throughout the flour.
Even distribution ensures the pancakes rise slightly and cook evenly without any dense patches.
3. Add the Potatoes
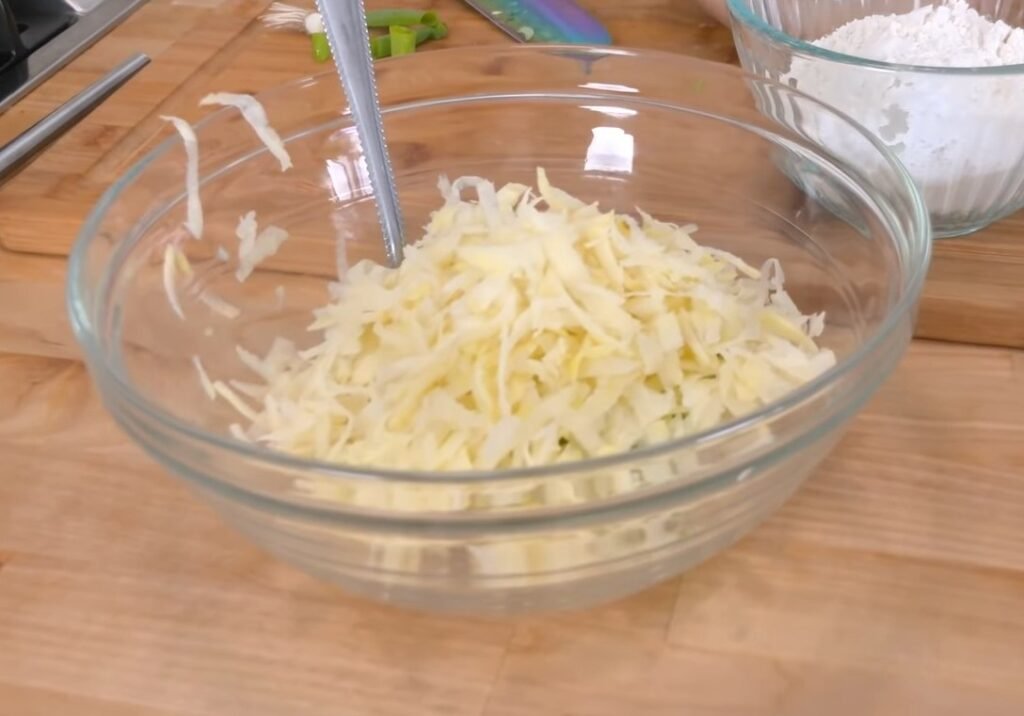
Now add both the mashed potatoes and the grated, squeezed potatoes into the dry mixture.
Use a spoon or your hands to gently mix everything together. At this stage, the mixture will look dry and slightly crumbly, which is perfectly normal.
4. Incorporate the Flavor Elements
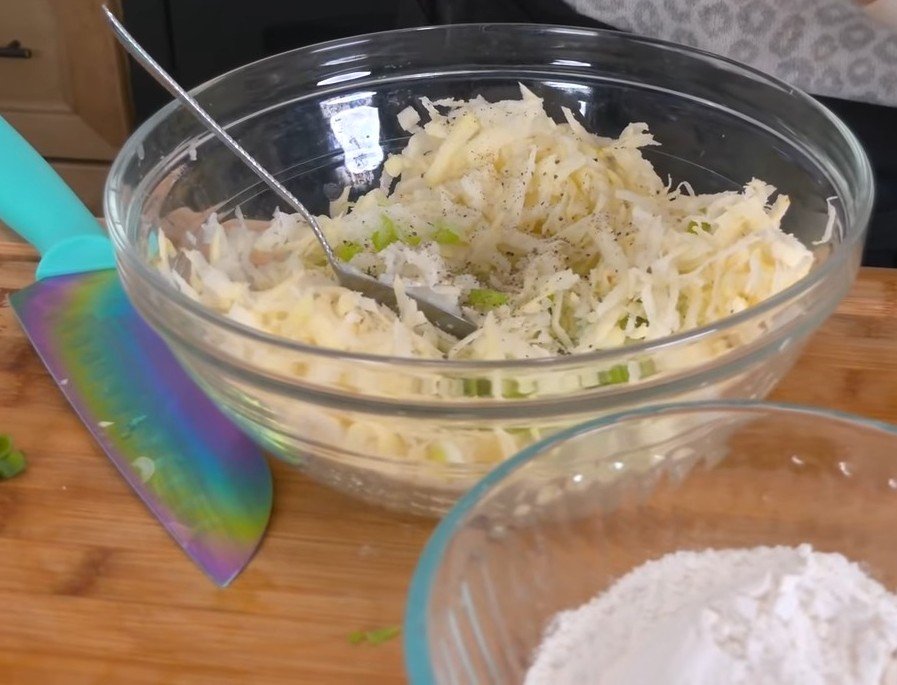
Add the chopped scallions and black pepper to the mixture. Stir well so the scallions are evenly spread throughout the batter.
Scallions add a mild onion flavor and freshness that balances the richness of the potatoes. Black pepper adds subtle warmth and depth.
5. Pour in the Buttermilk
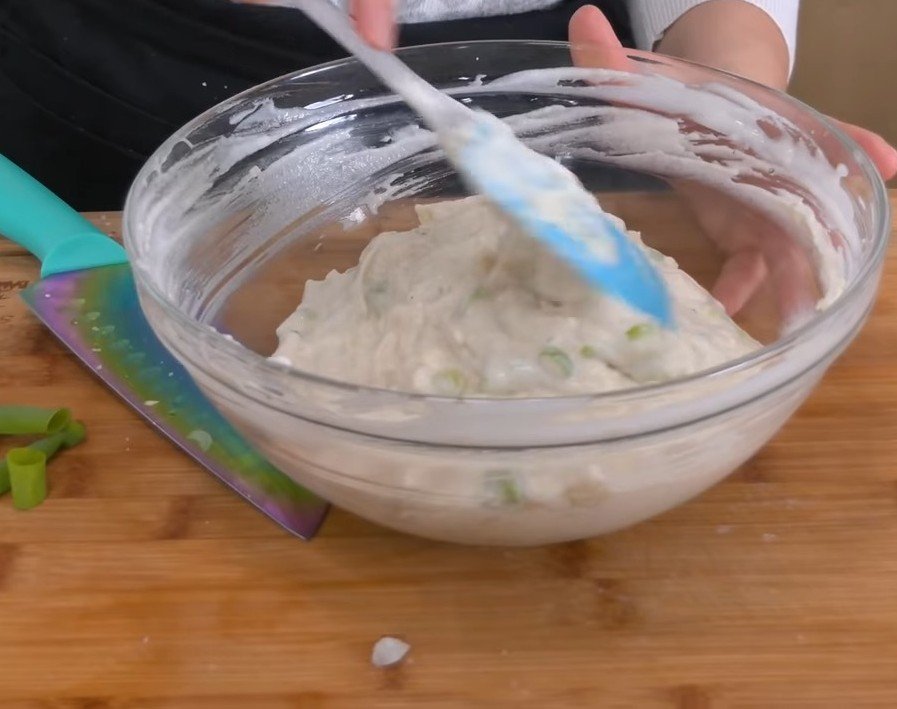
Gradually add the buttermilk while mixing. Do not pour it all at once. Stir continuously until a thick batter forms.
The final consistency should be similar to a thick pancake batter. It should hold its shape when scooped but still spread slightly when placed on a pan.
Buttermilk adds tanginess and helps activate the baking soda, which improves texture.
6. Preheat the Pan
Place a large skillet or non stick pan over medium heat. Add a generous drizzle of olive oil and allow it to heat up.
The oil should be hot but not smoking. Proper preheating ensures the pancakes develop a crisp golden crust.
7. Shape the Boxty
Scoop a portion of the batter using a spoon or small ladle and place it directly onto the pan.
Gently flatten the batter with the back of the spoon to form a round pancake. Do not press too hard, as you want to maintain some thickness.
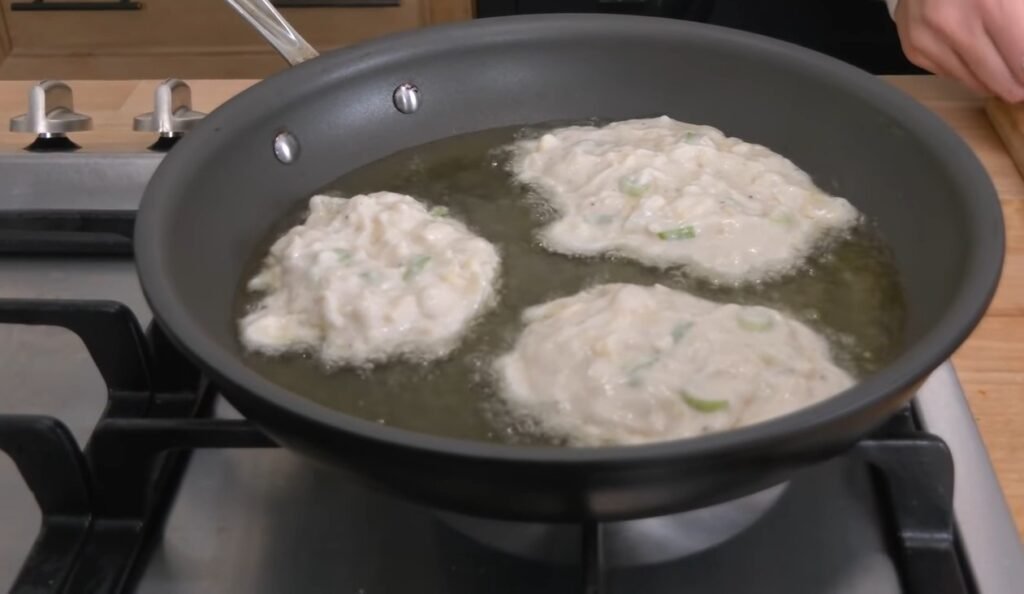
8. Cook Until Golden Brown

Let the pancake cook undisturbed for about 4 to 5 minutes on the first side.
You will notice the edges becoming crisp and the bottom turning golden brown. This is the sign that it is ready to flip.
Flip carefully and cook the other side for another 4 to 5 minutes until fully cooked and crisp.
9. Adjust Heat as Needed
If the pancakes are browning too quickly, reduce the heat slightly. If they are not crisping, increase it just a bit.
Maintaining the right temperature is key to achieving a crispy outside and a fully cooked inside.
10. Drain and Serve
Once cooked, transfer the pancakes to a plate lined with paper towels to absorb excess oil.
Serve them warm for the best texture and flavor.
Tips for Perfect Boxty
- Always squeeze out as much water as possible from the grated potatoes. Moisture is the main reason for soggy pancakes.
- Use cold mashed potatoes if possible. They help create a better structure in the batter.
- Do not skip soaking the grated potatoes. It improves both texture and flavor.
- Cook on medium heat rather than high heat. High heat may burn the outside while leaving the inside undercooked.
- Do not overcrowd the pan. Cook in batches to maintain proper temperature.
- Use enough oil to coat the bottom of the pan. This ensures even browning.
- Flip only once during cooking to maintain structure and crispness.
- Taste the batter for seasoning before cooking the full batch. Adjust salt and pepper if needed.
- Let the batter rest for a few minutes before cooking to allow the flour to hydrate properly.
- Serve immediately for the best experience, as the crispness is at its peak when hot.
Essential Equipment Guide
- Large mixing bowl
- Whisk
- Grater
- Clean kitchen towel or cheesecloth
- Non stick skillet or frying pan
- Spatula
- Measuring cups and spoons
Nutritional Information (Approximate per serving)
| Nutrient | Amount |
|---|---|
| Calories | 220 |
| Carbohydrates | 35g |
| Protein | 5g |
| Fat | 7g |
| Fiber | 3g |
| Sodium | 400mg |
Pairings
- Sour cream for a creamy contrast
- Smoked salmon for a savory combination
- Fried or poached eggs for a hearty breakfast
- Crispy bacon or sausages
- Fresh herbs like parsley or chives
- Applesauce for a sweet contrast
Variations
- Add shredded cheese to the batter for a richer flavor
- Mix in cooked bacon bits for extra texture
- Replace scallions with finely chopped onions
- Add herbs like thyme or parsley for freshness
- Use whole wheat flour for a nuttier taste
- Make smaller bite sized pancakes for appetizers
Time and Servings
- Prep Time: 10 minutes
- Cook Time: 30 minutes
- Servings: 12
This traditional boxty recipe delivers a comforting dish that is both simple and deeply satisfying. With its crispy edges and soft center, it works perfectly as a breakfast, side dish, or even a light meal. By following each step carefully and paying attention to texture and moisture, you can achieve authentic results every time.