This Italian BLT Panini transforms the classic sandwich into an elevated version using pancetta instead of bacon, fresh spinach over lettuce, and basil pesto for a flavorful twist.
Ingredients
- 4 tsp of Basil Pesto
- 4 Slices of Good Quality Sandwich Bread
- ½ cup of Shredded Mozzarella
- 6 Slices of Thinly Sliced Pancetta
- 1 Tomato, sliced
- ½ cup of Fresh Baby Spinach
- A Few Fresh Basil leaves
- Little drizzle of Olive oil
1. Essential Equipment Guide
- Grill pan
- Tongs
- Cutting board
- Knife
2. Timing and Servings
- Prep Time: 5 minutes
- Cook Time: 10 minutes
- Servings: 2
Step 1: Preheat the Grill Pan
Start by placing your grill pan over medium-high heat to get it nice and hot. This initial high heat ensures the pancetta crisps up perfectly without becoming greasy. Allow the pan to preheat for about 2 to 3 minutes, during which you can prepare your other ingredients. Preheating properly prevents sticking and promotes even cooking.
The sizzle you hear when adding the pancetta confirms the pan is ready. If the pan smokes excessively, reduce the heat slightly to maintain control. This step sets the foundation for the panini’s signature crunch.
Step 2: Grill the Pancetta Slices
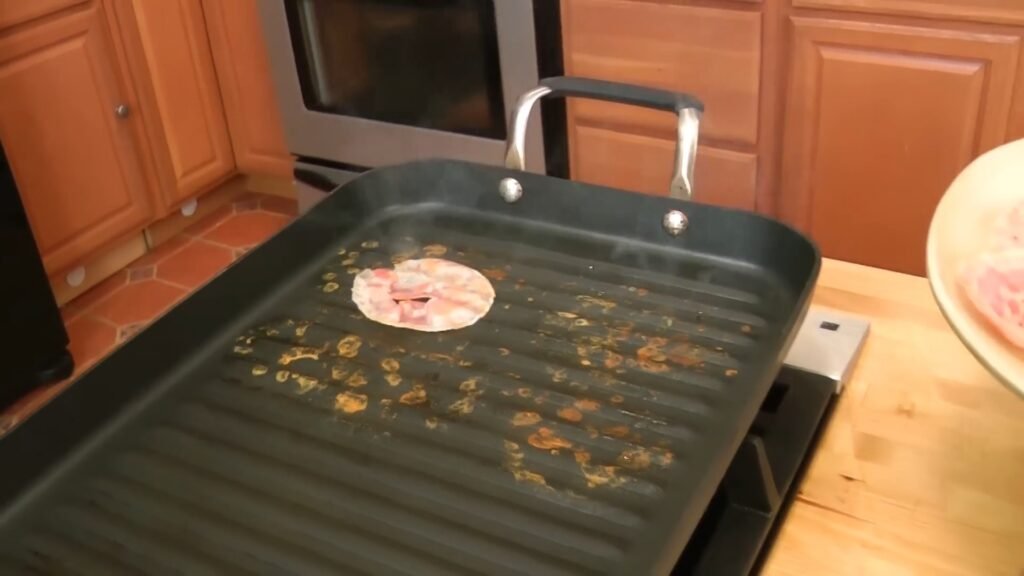
Lay out 6 slices of thinly sliced pancetta directly onto the hot grill pan. Cook each side for about 1 minute, using tongs to flip them carefully. The pancetta will develop beautiful texture and intensified flavor as the fat renders and the edges crisp up. Remove the cooked pancetta to a plate once it turns golden and slightly curled, which takes no more than 2 minutes total.
Thin slicing is crucial here, as thicker pieces can overpower the other flavors. This grilling step elevates the Italian bacon alternative far beyond traditional frying. Pat dry if needed to remove excess grease for a cleaner sandwich assembly.
Step 3: Reduce Heat and Prep the Bread
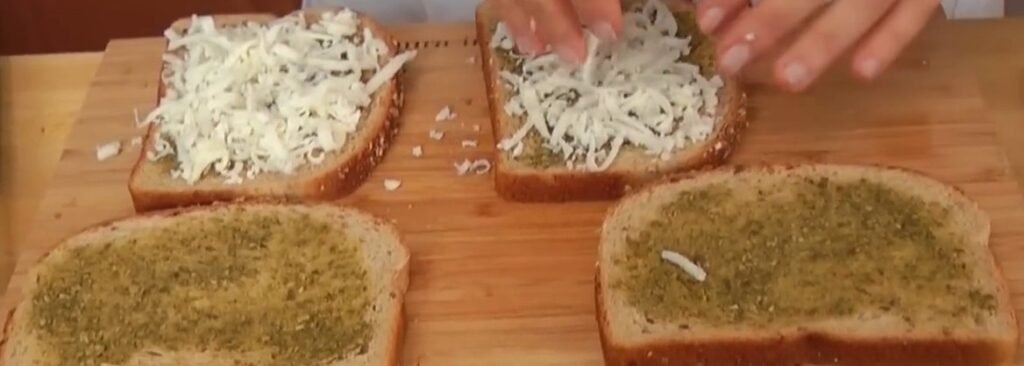
Lower the grill pan heat to medium. While it adjusts, lay out your 4 slices of good quality sandwich bread on a clean work surface. Opt for sturdy bread like whole grain if available, as it holds up well to pressing and grilling. Spread about 1 teaspoon of basil pesto evenly on one side of each bread slice using the back of a spoon.
Pesto replaces mayo for a lighter, herb-infused base that’s more figure-friendly and bursts with garlic and basil notes. Spread thinly to avoid sogginess; excess can seep out during grilling. This layer acts as both flavor enhancer and adhesive.
Step 4: Layer the Bottom Ingredients
On two of the pesto-spread bread slices (these will be the bottoms), sprinkle about 2 tablespoons of shredded mozzarella cheese first. This bottom layer of cheese melts into a glue that secures everything in place. Next, add a couple of tomato slices on top of the cheese, seasoning lightly with black pepper only, as pancetta provides ample salt.
Tomatoes add juicy freshness, but avoid salting to prevent overpowering brininess. Distribute evenly for balanced bites. The mozzarella starts melting subtly here, binding the stack.
Step 5: Build the Fillings Stack
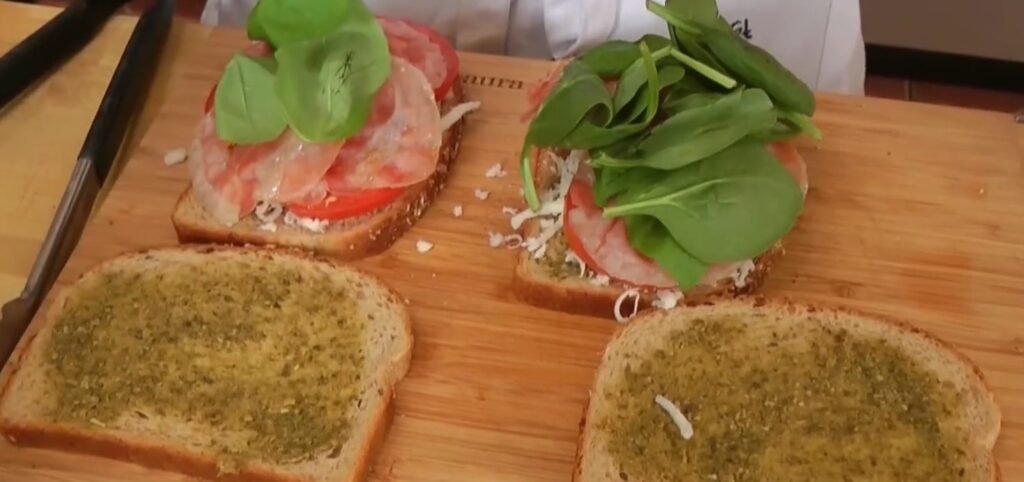
Pile on the grilled pancetta slices over the tomatoes, followed by a handful of fresh baby spinach and a few torn fresh basil leaves. The spinach brings earthy flavor and nutrition, superior to iceberg lettuce in taste and health benefits. Scatter another 2 tablespoons of shredded mozzarella on top of the fillings to seal the layers.
Basil leaves contribute aromatic brightness that complements the pesto perfectly. Use clean, dry greens to maintain crispness. This generous cheese topping ensures the sandwich holds together when flipped.
Step 6: Assemble the Sandwiches
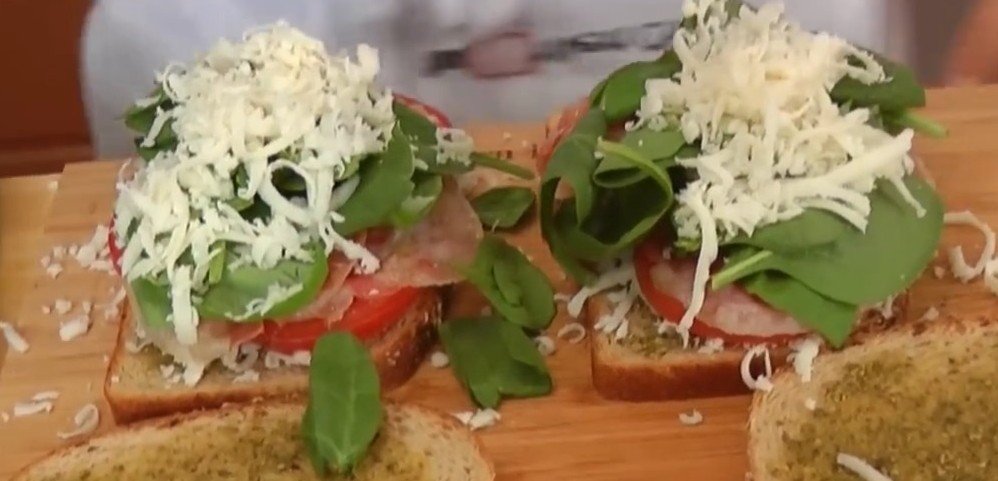
Place the remaining two pesto-spread bread slices on top of each filled stack to form complete paninis. Press down gently with your hand or spatula for compact assembly. The pesto sides should face inward, creating a sealed, flavorful envelope.
Assembly speed is key post-grilling to retain heat. Two sandwiches yield perfect portions for sharing. Ensure even distribution to avoid lopsided fillings.
Step 7: Drizzle and Initial Grill
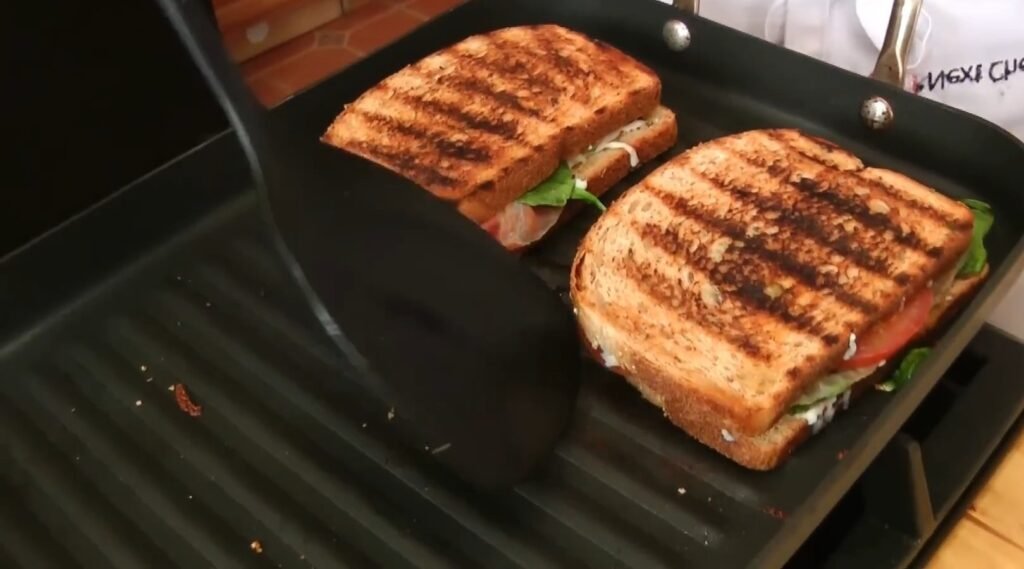
Drizzle a tiny bit of olive oil onto the medium-heated grill pan, just enough to prevent sticking without making it oily. Place both assembled paninis onto the pan. Let them cook untouched for about 3 minutes, allowing the bottom to crisp and cheese to begin melting.
Olive oil enhances golden ridges from the grill pan. Listen for a gentle sizzle, indicating ideal heat. Resist peeking to develop those coveted grill marks.
Step 8: Flip and Finish Cooking
Using tongs or a spatula, carefully flip each panini. Cook the second side for another 3 minutes, or until the cheese fully melts and bread turns golden brown. Press lightly with a spatula halfway through for even contact and compression.
Flipping once preserves structure. Total cook time stays under 10 minutes for quick meals. The panini is ready when it yields slightly to gentle pressure, signaling melted cheese.
Step 9: Rest and Slice
Transfer the hot paninis to a cutting board. Let them rest for 1 minute to set the cheese. Slice diagonally with a serrated knife for an appealing presentation that reveals the gooey interior.
Resting prevents cheese ooze during cutting. Diagonal cuts make handheld eating easier. Serve immediately for peak crispness.
Preparation Tips
- Choose high-quality, thinly sliced pancetta from a deli counter for optimal texture; pre-packaged works but may vary in thinness.
- Use fresh, ripe tomatoes at room temperature to maximize juiciness and flavor integration.
- Whole grain or sourdough bread adds nutty depth and better grilling resilience than soft white varieties.
- Make homemade pesto if possible for brighter basil punch, but store-bought jarred pesto saves time without sacrificing taste.
- Ensure spinach and basil are thoroughly washed and patted dry to avoid excess moisture that could steam the sandwich instead of crisping it.
- Preheat the grill pan fully before adding pancetta to render fat quickly and achieve crisp edges without chewiness.
- Thin pesto layer prevents overpowering; taste your pesto first and adjust spread accordingly for balanced herb notes.
- No salt on tomatoes or fillings: pancetta’s natural salinity shines through and prevents over-salting.
- Press paninis gently during grilling for that authentic compressed, panini-shop texture.
- Mozzarella melts best; substitute provolone if needed, but avoid harder cheeses that won’t glue layers effectively.
- Grill in batches if your pan is small to maintain even heat distribution.
- Experiment with heat levels: medium-high for pancetta, strict medium for sandwiches to melt cheese without burning bread.
- Olive oil drizzle should be minimal; excess leads to greasy results, diminishing crispness.
- Rest sliced paninis on a wire rack if not serving immediately to preserve bottom crunch.
- For kids, swap spinach for milder greens, but retain pancetta for that bacon-like appeal.
Nutritional Information
| Nutrient (per serving) | Amount |
|---|---|
| Calories | 550 |
| Protein | 25g |
| Fat | 35g |
| Carbs | 40g |
| Fiber | 5g |
Pairings
- Fresh green salad with balsamic vinaigrette for lightness.
- Oven-baked potato wedges seasoned with rosemary.
- Chilled gazpacho soup to complement Italian flavors.
- Sparkling water with lemon for a refreshing sip.
Variations
- Swap pancetta for prosciutto cotto for milder taste.
- Add sliced avocado for creamy richness.
- Use sourdough bread for tangier profile.
- Incorporate roasted red peppers for smoky sweetness.
- Opt for provolone cheese for sharper melt.
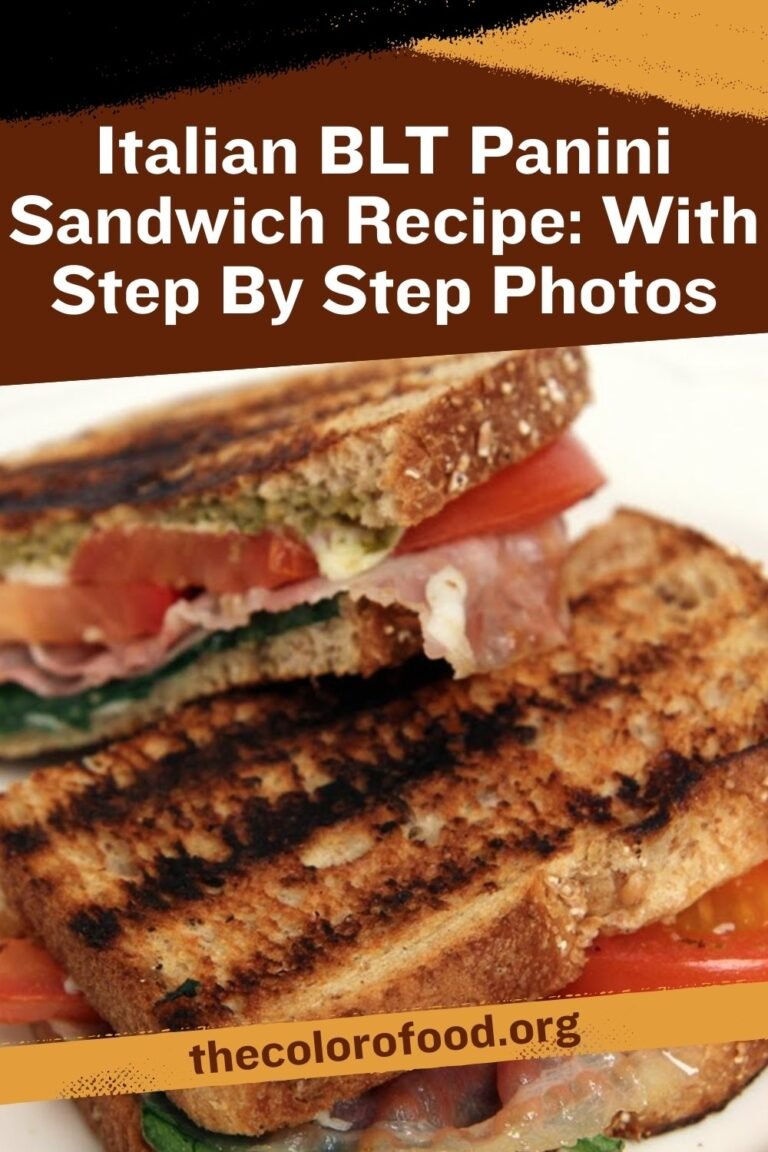
Italian BLT Panini Sandwich Recipe: With Step By Step Photos
This Italian BLT Panini transforms the classic sandwich into an elevated version using pancetta instead of bacon, fresh spinach over lettuce, and basil pesto for a flavorful twist.
- Total Time: 15 Mins
Ingredients
- 4 tsp of Basil Pesto
- 4 Slices of Good Quality Sandwich Bread
- ½ cup of Shredded Mozzarella
- 6 Slices of Thinly Sliced Pancetta
- 1 Tomato, sliced
- ½ cup of Fresh Baby Spinach
- A Few Fresh Basil leaves
- Little drizzle of Olive oil
Instructions
Start by placing your grill pan over medium-high heat to get it nice and hot. This initial high heat ensures the pancetta crisps up perfectly without becoming greasy. Allow the pan to preheat for about 2 to 3 minutes, during which you can prepare your other ingredients. Preheating properly prevents sticking and promotes even cooking.
The sizzle you hear when adding the pancetta confirms the pan is ready. If the pan smokes excessively, reduce the heat slightly to maintain control. This step sets the foundation for the panini’s signature crunch.
Step 2: Grill the Pancetta SlicesLay out 6 slices of thinly sliced pancetta directly onto the hot grill pan. Cook each side for about 1 minute, using tongs to flip them carefully. The pancetta will develop beautiful texture and intensified flavor as the fat renders and the edges crisp up. Remove the cooked pancetta to a plate once it turns golden and slightly curled, which takes no more than 2 minutes total.
Thin slicing is crucial here, as thicker pieces can overpower the other flavors. This grilling step elevates the Italian bacon alternative far beyond traditional frying. Pat dry if needed to remove excess grease for a cleaner sandwich assembly.
Step 3: Reduce Heat and Prep the BreadLower the grill pan heat to medium. While it adjusts, lay out your 4 slices of good quality sandwich bread on a clean work surface. Opt for sturdy bread like whole grain if available, as it holds up well to pressing and grilling. Spread about 1 teaspoon of basil pesto evenly on one side of each bread slice using the back of a spoon.
Pesto replaces mayo for a lighter, herb-infused base that’s more figure-friendly and bursts with garlic and basil notes. Spread thinly to avoid sogginess; excess can seep out during grilling. This layer acts as both flavor enhancer and adhesive.
Step 4: Layer the Bottom IngredientsOn two of the pesto-spread bread slices (these will be the bottoms), sprinkle about 2 tablespoons of shredded mozzarella cheese first. This bottom layer of cheese melts into a glue that secures everything in place. Next, add a couple of tomato slices on top of the cheese, seasoning lightly with black pepper only, as pancetta provides ample salt.
Tomatoes add juicy freshness, but avoid salting to prevent overpowering brininess. Distribute evenly for balanced bites. The mozzarella starts melting subtly here, binding the stack.
Step 5: Build the Fillings StackPile on the grilled pancetta slices over the tomatoes, followed by a handful of fresh baby spinach and a few torn fresh basil leaves. The spinach brings earthy flavor and nutrition, superior to iceberg lettuce in taste and health benefits. Scatter another 2 tablespoons of shredded mozzarella on top of the fillings to seal the layers.
Basil leaves contribute aromatic brightness that complements the pesto perfectly. Use clean, dry greens to maintain crispness. This generous cheese topping ensures the sandwich holds together when flipped.
Step 6: Assemble the SandwichesPlace the remaining two pesto-spread bread slices on top of each filled stack to form complete paninis. Press down gently with your hand or spatula for compact assembly. The pesto sides should face inward, creating a sealed, flavorful envelope.
Assembly speed is key post-grilling to retain heat. Two sandwiches yield perfect portions for sharing. Ensure even distribution to avoid lopsided fillings.
Step 7: Drizzle and Initial GrillDrizzle a tiny bit of olive oil onto the medium-heated grill pan, just enough to prevent sticking without making it oily. Place both assembled paninis onto the pan. Let them cook untouched for about 3 minutes, allowing the bottom to crisp and cheese to begin melting.
Olive oil enhances golden ridges from the grill pan. Listen for a gentle sizzle, indicating ideal heat. Resist peeking to develop those coveted grill marks.
Step 8: Flip and Finish CookingUsing tongs or a spatula, carefully flip each panini. Cook the second side for another 3 minutes, or until the cheese fully melts and bread turns golden brown. Press lightly with a spatula halfway through for even contact and compression.
Flipping once preserves structure. Total cook time stays under 10 minutes for quick meals. The panini is ready when it yields slightly to gentle pressure, signaling melted cheese.
Step 9: Rest and SliceTransfer the hot paninis to a cutting board. Let them rest for 1 minute to set the cheese. Slice diagonally with a serrated knife for an appealing presentation that reveals the gooey interior.
Resting prevents cheese ooze during cutting. Diagonal cuts make handheld eating easier. Serve immediately for peak crispness.
- Prep Time: 5 Mins
- Cook Time: 10 Mins