Butternut Squash Mac and Cheese offers a creamy, comforting twist on the classic dish, blending roasted squash sweetness with multiple cheeses for ultimate indulgence. This recipe draws from my simple yet flavorful approach, perfect for family meals.
Ingredients
- 1 lb of Elbow Pasta
- 4 cups of Diced Butternut Squash
- 1/2 of a Small Yellow Onion, diced
- 2 Tbsp of Olive Oil
- 1 1/2 cups of Veggie Stock
- 4 oz of Cream Cheese
- 4 oz Shredded Monterey Jack Cheese
- 4 oz of Shredded Sharp Cheddar
- 1/4 cup of Grated Parmesan
- Salt to taste
- 1/4 cup of Breadcrumbs
- 2 Tbsp of Melted Butter
1. Essential Equipment Guide
2. Timing and Servings
Step 1: Preheat and Prep Squash
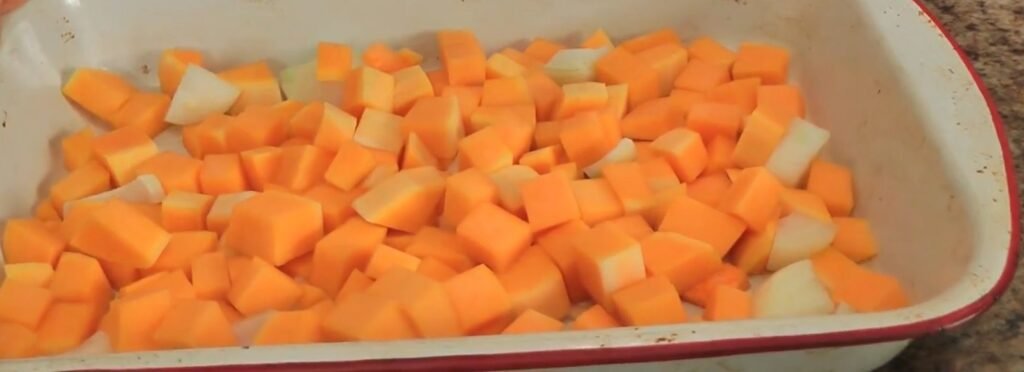
Preheat your oven to 375 degrees Fahrenheit for roasting, as this temperature perfectly intensifies the natural sweetness of the butternut squash without overcooking it. In a 9×13 inch baking pan, combine the 4 cups of diced butternut squash and 1/2 small yellow onion diced, then drizzle with 2 tablespoons of olive oil and add a good pinch of salt to enhance flavors. Toss everything together thoroughly to ensure even coating, then slide the pan into the oven for about 30 minutes or until the squash becomes tender and caramelized, developing a deeper, sweeter profile that forms the heart of this creamy sauce.
Step 2: Boil Pasta Water
While the squash roasts, fill a large pot with water and set it on the stove to come to a boil, adding a generous pinch of salt to season the pasta as it cooks. This step harmonizes with the roasting time, so by the last 10 minutes of squash cooking, your water will be ready. Keep the pasta dry until the squash finishes, allowing all components to sync seamlessly for efficiency in your kitchen workflow.
Step 3: Cook the Pasta
Once the squash emerges tender from the oven after 30 minutes, let it rest briefly for about 10 minutes to cool slightly and release steam. Drop the 1 lb of elbow pasta into the boiling salted water and cook according to package instructions until al dente, typically 8 to 10 minutes. Drain the pasta immediately and return it to the same large pot without rinsing, preserving the starchy coating that helps the sauce cling beautifully later.
Step 4: Puree the Sauce
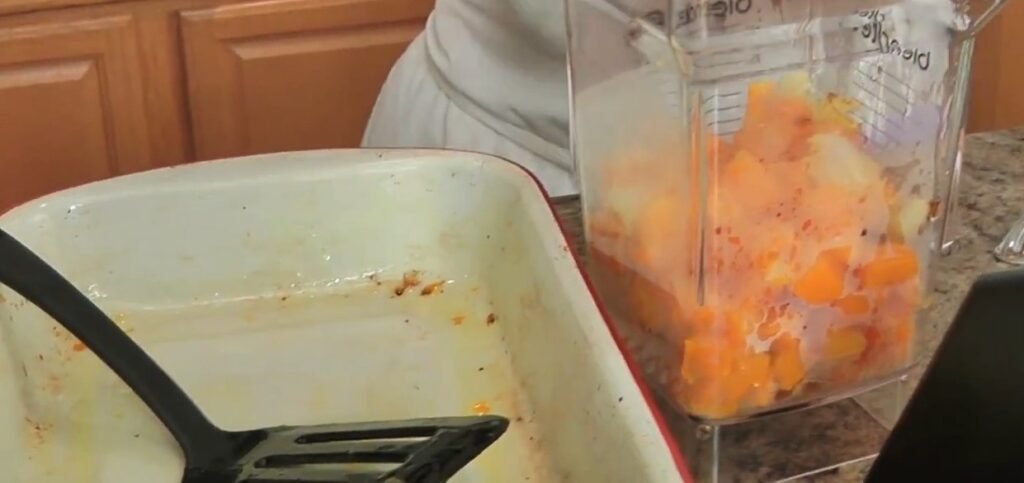
Transfer the roasted butternut squash and onions directly into a blender, adding 4 oz of cream cheese and 1 1/2 cups of veggie stock to create a velvety base. Start by blending with half the stock for control, then incorporate the rest as needed until the mixture achieves a smooth, thick, and creamy consistency, not too thin but pourable. This puree captures the roasted essence, providing natural creaminess without heavy cream while sneaking in nutrients kids often overlook.
Step 5: Combine Pasta and Sauce
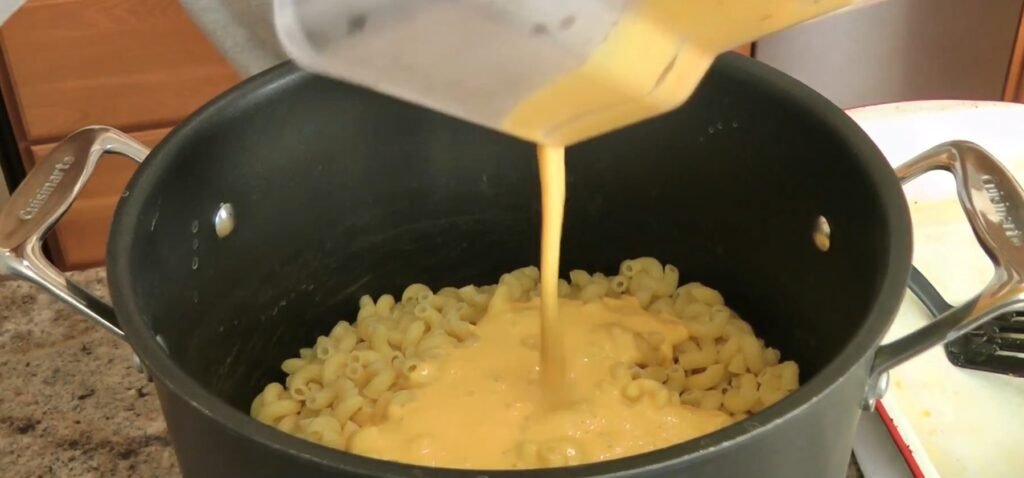
Pour the gorgeous squash puree over the drained pasta in the pot, stirring promptly to coat every noodle evenly while the mixture remains warm. Add about three-quarters of the shredded cheeses, including 4 oz Monterey Jack, 4 oz sharp cheddar, and 1/4 cup grated Parmesan, mixing vigorously until they melt into a gooey embrace. Taste and adjust salt levels now, as the cheese amplifies savoriness; this stovetop stage already yields a delicious mac ready to eat if skipping the bake.
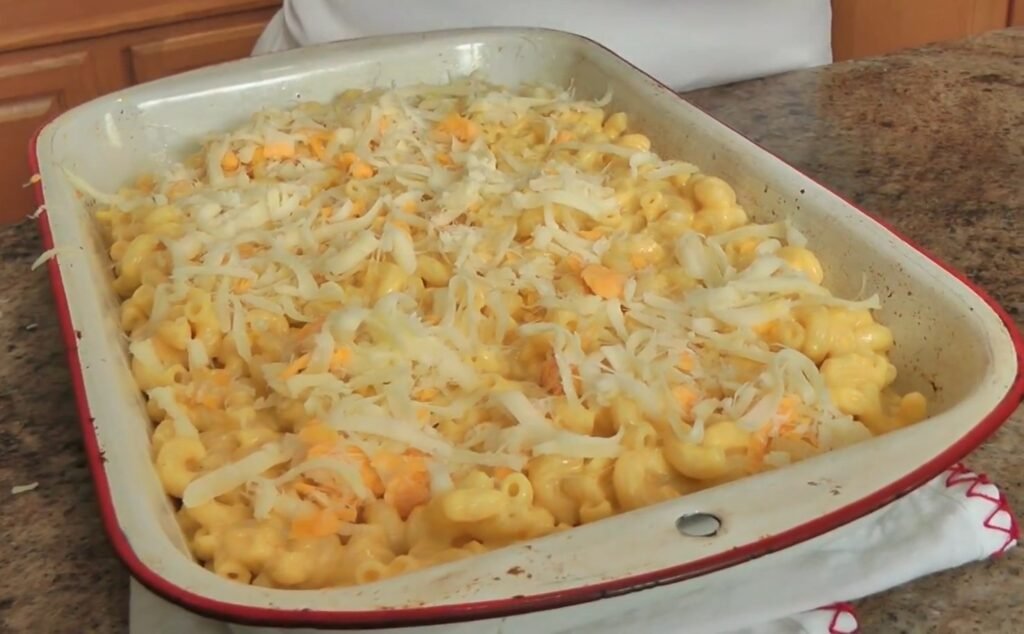
Step 6: Assemble for Baking
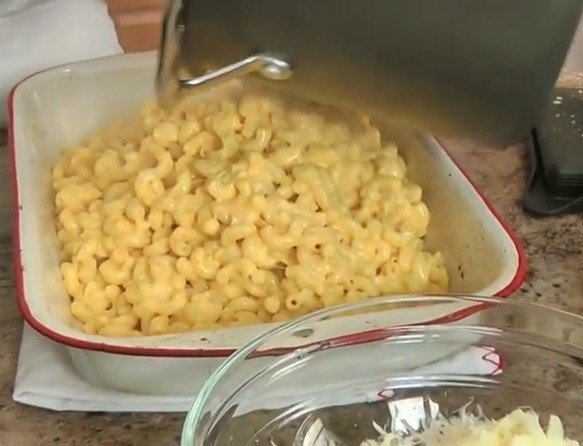
Spoon the cheesy pasta mixture back into the 9×13 inch baking pan used for roasting, spreading it evenly for uniform baking. Sprinkle the remaining quarter of the cheeses across the top to form a melty blanket that bubbles invitingly. This transfer reuses pan residues for added flavor depth, turning the dish into a cohesive, oven-ready casserole.
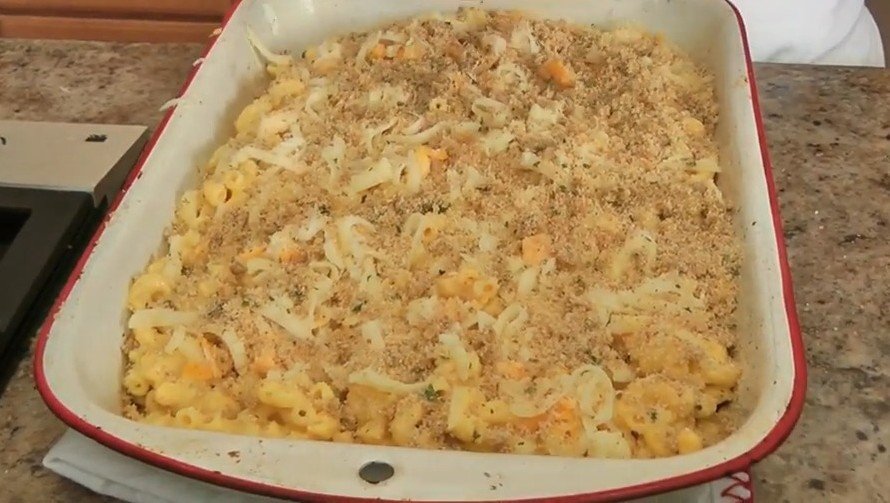
Step 7: Add Crunchy Topping
Mix 1/4 cup breadcrumbs with 2 tablespoons melted butter until it resembles wet sand, creating a crispy contrast to the creamy interior. Scatter this mixture generously over the cheese-topped pasta by hand or spoon for even coverage. The butter ensures golden browning, elevating the dish from stovetop comfort to baked perfection with a satisfying crunch.
Step 8: Bake to Golden Perfection
Place the assembled pan back into the still-hot 375-degree oven for 10 to 30 minutes, watching for a lovely golden brown top and bubbly edges. The shorter time crisps the breadcrumbs quickly, while longer ensures thorough heating if needed; broil briefly at the end for extra char if desired. Remove when the cheese melts fully and aromas fill your kitchen, signaling readiness.
Comprehensive Cooking Tips
Roasting the squash first unlocks its sugars through caramelization, far superior to boiling which dilutes flavors and nutrients; aim for fork-tender pieces with slight browning edges to maximize this effect, adjusting time based on dice size for consistency.
When blending the sauce, use a high-powered blender for silkiness, pulsing initially to avoid splatters, and taste the puree before mixing with pasta to fine-tune salt, as cheeses vary in intensity. For pasta, undercook slightly by one minute since it bakes further, preventing mushiness; reserve a cup of pasta water if the sauce thickens too much post-blend, stirring it in gradually for perfect creaminess.
Cream cheese provides tang that balances squash sweetness, but if tangy notes overpower, substitute with 1/4 cup heavy cream and reduce stock slightly for milder results without losing body. Cheese selection matters: Monterey Jack melts smoothly, sharp cheddar adds bite, and Parmesan umami; shred fresh for better incorporation over pre-shredded which contains anti-caking agents.
Breadcrumb topping thrives on panko or Italian styles for extra crunch, tossed lightly to avoid sogginess; melt butter just before mixing to prevent separation. Baking at 375 ensures even cooking without drying edges, tenting foil if top browns too fast while base catches up. For make-ahead, assemble fully and refrigerate up to 24 hours, adding 10 minutes bake time straight from cold; leftovers reheat best with a splash of milk in microwave or oven at 350 degrees.
Customize veggie stock to chicken for deeper savoriness or keep veggie for vegan cheese swaps like cashew-based. Portion into muffin tins for kid-friendly bites, freezing unbaked for up to a month; thaw overnight before baking. Serve immediately for peak texture, as standing softens the top; garnish with chives or nutmeg for elegance. This dish shines in fall menus, pairing nutrition with indulgence seamlessly.
Nutritional Information
| Nutrient (per serving) | Amount | % Daily Value |
|---|---|---|
| Calories | 450 | 23% |
| Total Fat | 22g | 28% |
| Carbohydrates | 52g | 19% |
| Protein | 18g | 36% |
| Fiber (from squash) | 4g | 14% |
Pairings
- Roasted Brussels sprouts for earthy balance.
- Crisp green salad with apple slices.
- Grilled chicken breasts for protein boost.
Variations
- Swap elbow pasta for shells to trap more sauce.
- Add cooked bacon bits for smoky crunch.
- Use pumpkin puree instead of squash for seasonal twist.
- Go vegan with plant-based cheeses and stock.

Butternut Mac and Cheese Recipe
Butternut Squash Mac and Cheese offers a creamy, comforting twist on the classic dish, blending roasted squash sweetness with multiple cheeses for ultimate indulgence. This recipe draws from my simple yet flavorful approach, perfect for family meals.
- Total Time: 1 Hr
Ingredients
- 1 lb of Elbow Pasta
- 4 cups of Diced Butternut Squash
- 1/2 of a Small Yellow Onion, diced
- 2 Tbsp of Olive Oil
- 1 1/2 cups of Veggie Stock
- 4 oz of Cream Cheese
- 4 oz Shredded Monterey Jack Cheese
- 4 oz of Shredded Sharp Cheddar
- 1/4 cup of Grated Parmesan
- Salt to taste
- 1/4 cup of Breadcrumbs
- 2 Tbsp of Melted Butter
Instructions
Preheat your oven to 375 degrees Fahrenheit for roasting, as this temperature perfectly intensifies the natural sweetness of the butternut squash without overcooking it. In a 9×13 inch baking pan, combine the 4 cups of diced butternut squash and 1/2 small yellow onion diced, then drizzle with 2 tablespoons of olive oil and add a good pinch of salt to enhance flavors. Toss everything together thoroughly to ensure even coating, then slide the pan into the oven for about 30 minutes or until the squash becomes tender and caramelized, developing a deeper, sweeter profile that forms the heart of this creamy sauce.
Step 2: Boil Pasta WaterWhile the squash roasts, fill a large pot with water and set it on the stove to come to a boil, adding a generous pinch of salt to season the pasta as it cooks. This step harmonizes with the roasting time, so by the last 10 minutes of squash cooking, your water will be ready. Keep the pasta dry until the squash finishes, allowing all components to sync seamlessly for efficiency in your kitchen workflow.
Step 3: Cook the PastaOnce the squash emerges tender from the oven after 30 minutes, let it rest briefly for about 10 minutes to cool slightly and release steam. Drop the 1 lb of elbow pasta into the boiling salted water and cook according to package instructions until al dente, typically 8 to 10 minutes. Drain the pasta immediately and return it to the same large pot without rinsing, preserving the starchy coating that helps the sauce cling beautifully later.
Step 4: Puree the SauceTransfer the roasted butternut squash and onions directly into a blender, adding 4 oz of cream cheese and 1 1/2 cups of veggie stock to create a velvety base. Start by blending with half the stock for control, then incorporate the rest as needed until the mixture achieves a smooth, thick, and creamy consistency, not too thin but pourable. This puree captures the roasted essence, providing natural creaminess without heavy cream while sneaking in nutrients kids often overlook.
Step 5: Combine Pasta and SaucePour the gorgeous squash puree over the drained pasta in the pot, stirring promptly to coat every noodle evenly while the mixture remains warm. Add about three-quarters of the shredded cheeses, including 4 oz Monterey Jack, 4 oz sharp cheddar, and 1/4 cup grated Parmesan, mixing vigorously until they melt into a gooey embrace. Taste and adjust salt levels now, as the cheese amplifies savoriness; this stovetop stage already yields a delicious mac ready to eat if skipping the bake.
Step 6: Assemble for BakingSpoon the cheesy pasta mixture back into the 9×13 inch baking pan used for roasting, spreading it evenly for uniform baking. Sprinkle the remaining quarter of the cheeses across the top to form a melty blanket that bubbles invitingly. This transfer reuses pan residues for added flavor depth, turning the dish into a cohesive, oven-ready casserole.
Step 7: Add Crunchy ToppingMix 1/4 cup breadcrumbs with 2 tablespoons melted butter until it resembles wet sand, creating a crispy contrast to the creamy interior. Scatter this mixture generously over the cheese-topped pasta by hand or spoon for even coverage. The butter ensures golden browning, elevating the dish from stovetop comfort to baked perfection with a satisfying crunch.
Step 8: Bake to Golden PerfectionPlace the assembled pan back into the still-hot 375-degree oven for 10 to 30 minutes, watching for a lovely golden brown top and bubbly edges. The shorter time crisps the breadcrumbs quickly, while longer ensures thorough heating if needed; broil briefly at the end for extra char if desired. Remove when the cheese melts fully and aromas fill your kitchen, signaling readiness.
- Prep Time: 15 Mins
- Cook Time: 45 Mins