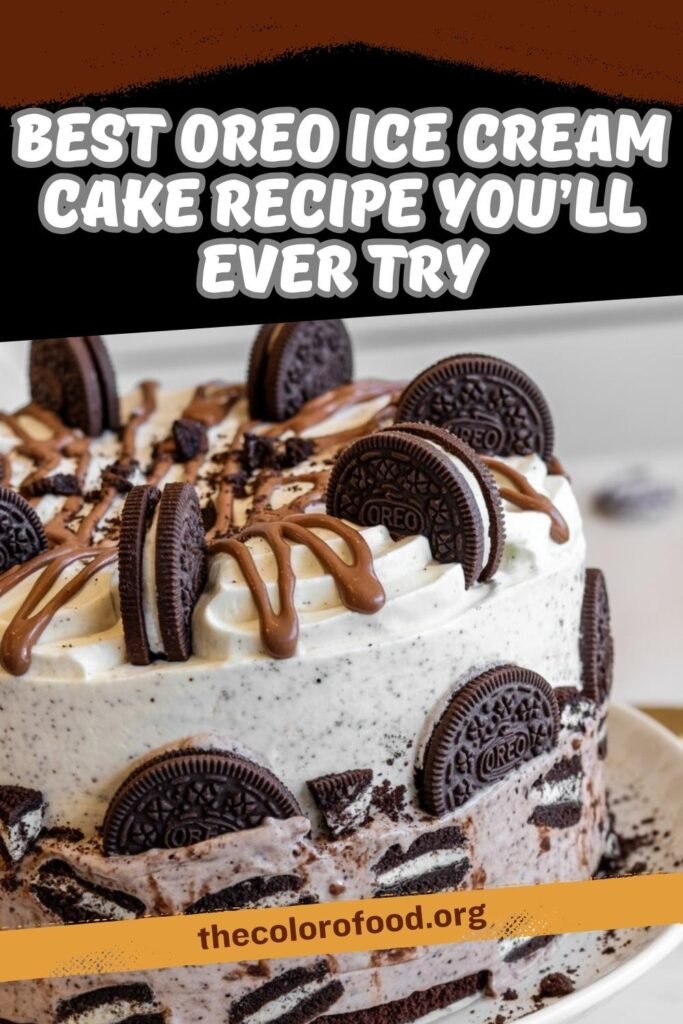
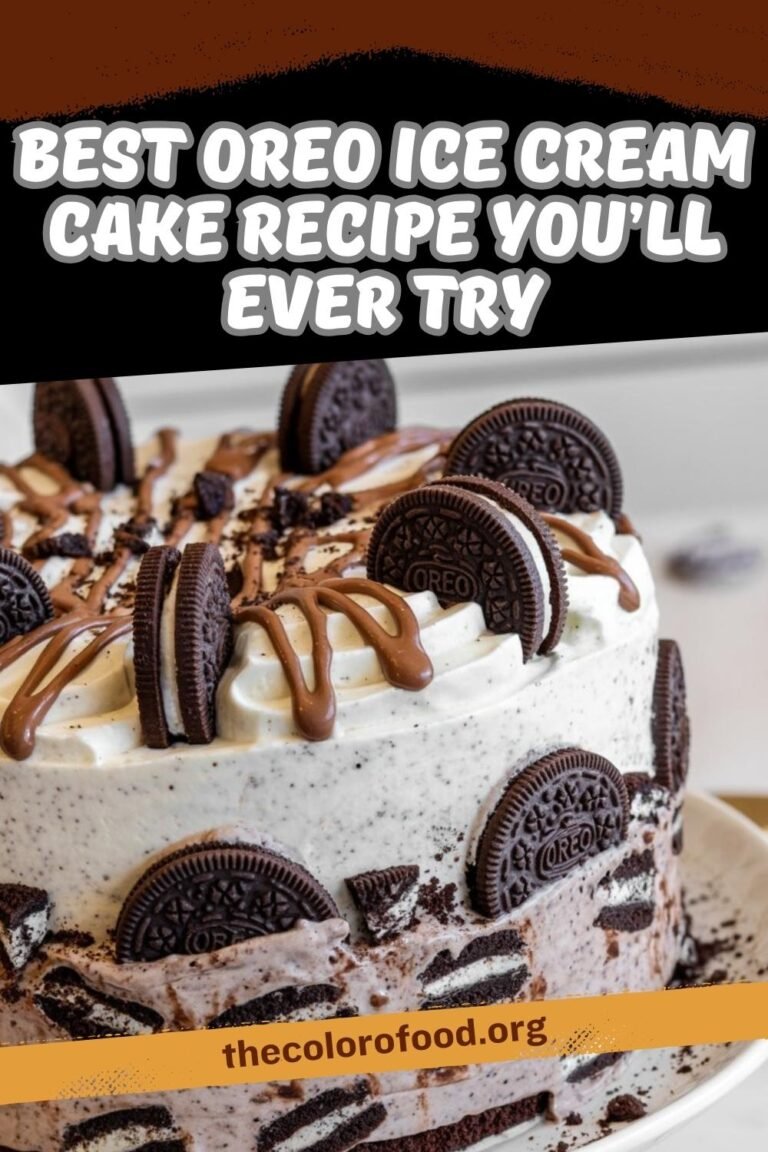
This Oreo Ice Cream Cake is a no bake, make ahead dessert that layers softened vanilla ice cream with caramel, chocolate fudge, crushed Oreos and walnuts for a crunchy, creamy treat that slices beautifully. Every slice comes out with a whole Oreo cookie on the side, so it looks like a showstopper with almost no effort.
Ingredients
- 1 gallon vanilla ice cream, softened slightly
- ½ cup store bought caramel sauce, plus extra for drizzling on top if desired
- ½ cup store bought chocolate fudge sauce
- 1 large bag Oreo cookies
- ½ cup walnuts in syrup, drained slightly (optional but highly recommended)
1. Soften the Ice Cream
The base of this cake is softened vanilla ice cream, which needs a little time at room temperature before you can mix in the sauces, nuts and crumbs. Take the gallon of vanilla ice cream out of the freezer and set it on the counter for about 30 to 45 minutes, just until it is soft enough to stir easily but not melted into liquid.
During this time, the surface will look slightly glossy and your spoon should glide through it with gentle pressure rather than having to dig or chip at it. If you try to rush this step, the ice cream will be too hard to take in the caramel, chocolate and Oreos evenly, which can leave you with pockets of plain ice cream and patches that are overloaded.
2. Prepare and Line the Springform Pan
For easy removal and a clean presentation, use a 9 inch springform pan and line it with plastic wrap. Set the base of the pan in place, click the ring closed, then press a large sheet of plastic wrap over the base and up the sides, smoothing it into the corners so it hugs the pan as closely as possible without big folds.
The plastic wrap will act as a sling once the cake is frozen, allowing you to lift the entire ice cream cake out of the pan without struggling or damaging the decorative Oreo border. Try to leave some overhang so you can grab it later when you are ready to unmold the cake after freezing.
3. Build the Oreo Cookie Shell
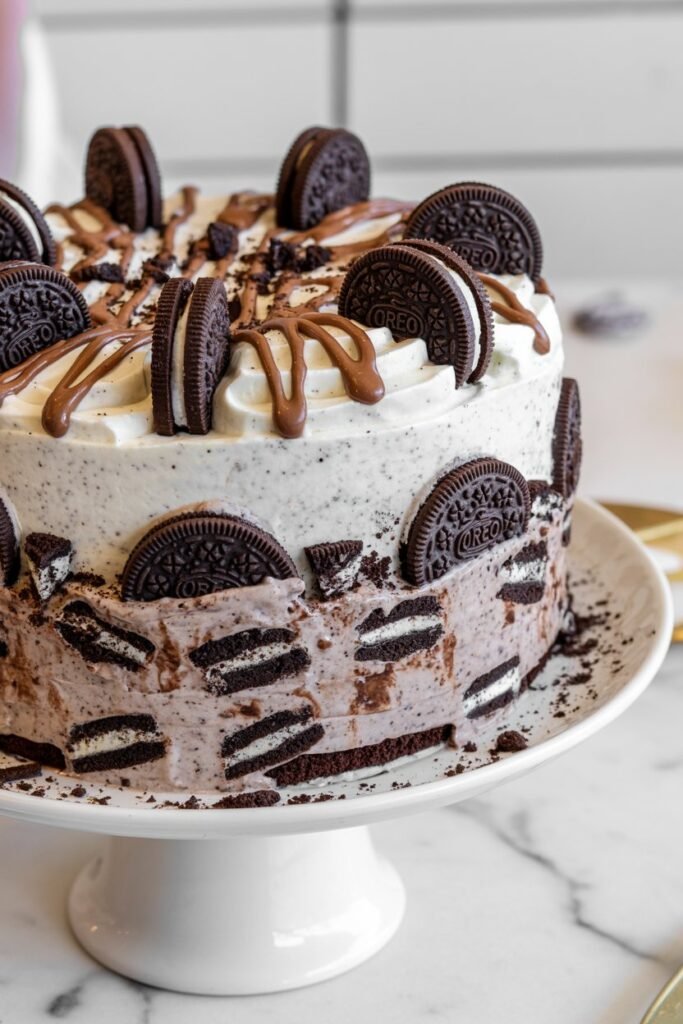
Now create the signature Oreo shell that makes this cake so striking when sliced. Take whole Oreo cookies and stand them upright along the inner edge of the springform pan, fitting them snugly side by side all the way around so they form a ring that lines the whole circumference.
For the base, twist additional Oreos open and lay the halves, cream side up or down, in a single layer on the bottom of the pan, filling in as much of the surface as you can. The bottom layer does not need to be perfectly even because it will be covered by the ice cream mixture and will soften slightly as it freezes, but having the base lined with cookie pieces adds both texture and flavor to every bite.
4. Crush the Remaining Oreo Cookies
Place the remaining Oreo cookies into a large zip top bag, making sure not to overfill so you have room to crush them. Press out the excess air, seal the bag, then use a rolling pin or a sturdy skillet to smash the cookies until you have coarse crumbs with small chunks rather than a fine powder.
You should still see little pieces of cookie and cream because those chunks give a satisfying bite and prevent the cake from feeling like uniform ice cream. Measure out about half a cup of these coarse crumbs and set them aside in a small bowl for topping the cake later, leaving the rest in the bag or transferring them to a bowl for mixing into the softened ice cream.
5. Mix the Ice Cream Filling
Scoop the softened vanilla ice cream into a large mixing bowl that gives you plenty of room to fold in the add ins without spilling. Pour in ½ cup of caramel sauce and ½ cup of chocolate fudge sauce, letting them streak through the ice cream so you will later get caramel and chocolate in every spoonful.
Add most of the crushed Oreo crumbs to the bowl, reserving the portion you set aside for the topping, and then spoon in about ½ cup of walnuts in syrup if you are using them. Gently fold everything together with a wooden spoon or sturdy spatula until the sauces are swirled throughout, the crumbs are evenly dispersed and the walnuts are distributed so each slice gets a few crunchy, sweet bites without being overloaded.
6. Assemble and Top the Cake
Bring the prepared springform pan close to your work area and make sure the Oreo border and base are still in place. Pour the ice cream mixture into the center of the pan, taking care not to knock over the standing Oreos, and use a spatula to press the mixture gently into the gaps between the cookies and smooth the top into an even layer.
Sprinkle the reserved Oreo crumbs evenly over the surface so they form a generous, crunchy topping. If you like extra drama and sweetness, drizzle additional caramel sauce in thin lines across the top, letting a little drip down the sides for a bakery style look that makes the cake feel even more indulgent.
7. Freeze Until Firm and Slice
Fold the overhanging plastic wrap gently over the top to protect the cake from freezer odors, then place the pan on a flat shelf in the freezer. Let the cake set for at least 4 to 6 hours, or until it is very firm to the touch and the ice cream has fully re frozen, which prevents the slices from collapsing when you cut them.
When you are ready to serve, unclasp the springform ring and lift it away, then use the plastic wrap to help you lift and slide the cake onto a serving plate. Use the Oreo cookies standing around the edge as a visual guide for even slices, cutting between the cookies so each piece gets a whole Oreo on its outer edge and shows off the layered interior of ice cream, crumbs and sauce.
8. Helpful Tips for Best Results
Letting the ice cream soften just enough is one of the most important details for this recipe, because ice cream that is too firm will not blend smoothly with the caramel, chocolate and crumbs, while ice cream that is too melted can refreeze with icy crystals and lose its creamy texture. Aim for a consistency similar to soft serve, where the ice cream still holds its shape on a spoon but swirls easily around the bowl as you fold in the add ins.
When you line the pan with Oreos, take an extra moment to press each cookie gently against the plastic lined side so it stands up securely; the more stable they are before filling, the less likely they will fall over once the ice cream mixture goes in. If a few do tip as you pour in the filling, you can nudge them back into place with the back of a spoon while the mixture is still soft, which keeps the border looking neat and guarantees that every slice has a full cookie accent.
Crushing the Oreos to the right texture also makes a difference; very fine crumbs will blend almost completely into the ice cream and create a more uniform gray color, while slightly larger pieces stand out and give visual contrast and crunch. Using a zip top bag and rolling pin lets you control the texture easily, and pausing a couple of times to feel the crumbs through the bag ensures you stop while there are still some small chunks left.
If you choose to add walnuts in syrup, drain them lightly so they are not dripping but still coated in their sweet glaze, then fold them in gently at the end so they do not break down too much. These little pockets of nutty sweetness act like surprise bites in each slice and add another layer of flavor that balances the chocolate and caramel without making the cake feel heavy.
Finally, be patient with the freezing time; cutting into the cake too early will cause the slices to slump and the Oreo border to shift, whereas a fully frozen cake cuts cleanly and shows beautiful layers. For the best texture, you can move the cake from the freezer to the fridge for about 15 minutes before serving so the ice cream softens just enough to slice smoothly while still holding sharp edges.
9. Essential Equipment Guide
- 9 inch springform pan
- Large mixing bowl
- Wooden spoon or sturdy spatula
- Large zip top bag
- Rolling pin or heavy skillet for crushing cookies
- Plastic wrap
- Sharp knife for slicing
10. Nutritional Information
Approximate values per serving, based on 10 servings and including walnuts.
| Nutrient | Amount per serving |
|---|---|
| Calories | ~650 kcal |
| Carbohydrates | ~75 g |
| Protein | ~9 g |
| Total Fat | ~34 g |
| Saturated Fat | ~18 g |
| Sugars | ~55 g |
| Sodium | ~380 mg |
| Fiber | ~2 g |
(Values are estimated from typical ingredients; for medical or strict dietary needs, calculate with exact brands used.)
11. Pairings
- Serve with hot coffee or espresso to balance the sweetness and contrast the cold cake.
- Pair with a glass of cold milk, which echoes the cookie and cream flavors.
- Add fresh berries on the side for a bright, slightly tart contrast to the rich ice cream and chocolate.
- Drizzle extra warm chocolate or caramel sauce on the plates for guests who like a more decadent dessert.
12. Variations
- Swap vanilla ice cream for chocolate, cookies and cream or caramel swirl ice cream to change the flavor profile while keeping the method the same.
- Replace walnuts with toasted almonds, hazelnuts or peanuts, or omit nuts entirely for a nut free version.
- Use different sandwich cookies such as chocolate mint or peanut butter flavored cookies instead of classic Oreos.
- Add a ribbon of extra caramel or fudge in the middle by layering half the ice cream mixture, drizzling sauce, then topping with the rest before freezing.
13. Prep Time, Cook Time and Servings
- Prep Time: About 30 to 45 minutes of active prep plus softening time for the ice cream.
- Cook Time: No actual cooking is required, but allow 4 to 6 hours of freezing time for the cake to set completely.
- Servings: The finished Oreo Ice Cream Cake serves about 8 to 10 people, depending on slice size.
Best Oreo Ice Cream Cake Recipe You’ll Ever Try
This Oreo Ice Cream Cake is a no bake, make ahead dessert that layers softened vanilla ice cream with caramel, chocolate fudge, crushed Oreos and walnuts for a crunchy, creamy treat that slices beautifully. Every slice comes out with a whole Oreo cookie on the side, so it looks like a showstopper with almost no effort.
- Total Time: 45 Mins
Ingredients
- 1 gallon vanilla ice cream, softened slightly
- ½ cup store bought caramel sauce, plus extra for drizzling on top if desired
- ½ cup store bought chocolate fudge sauce
- 1 large bag Oreo cookies
- ½ cup walnuts in syrup, drained slightly (optional but highly recommended)
Instructions
The base of this cake is softened vanilla ice cream, which needs a little time at room temperature before you can mix in the sauces, nuts and crumbs. Take the gallon of vanilla ice cream out of the freezer and set it on the counter for about 30 to 45 minutes, just until it is soft enough to stir easily but not melted into liquid.
During this time, the surface will look slightly glossy and your spoon should glide through it with gentle pressure rather than having to dig or chip at it. If you try to rush this step, the ice cream will be too hard to take in the caramel, chocolate and Oreos evenly, which can leave you with pockets of plain ice cream and patches that are overloaded.
2. Prepare and Line the Springform Pan
For easy removal and a clean presentation, use a 9 inch springform pan and line it with plastic wrap. Set the base of the pan in place, click the ring closed, then press a large sheet of plastic wrap over the base and up the sides, smoothing it into the corners so it hugs the pan as closely as possible without big folds.
The plastic wrap will act as a sling once the cake is frozen, allowing you to lift the entire ice cream cake out of the pan without struggling or damaging the decorative Oreo border. Try to leave some overhang so you can grab it later when you are ready to unmold the cake after freezing.
3. Build the Oreo Cookie Shell
Now create the signature Oreo shell that makes this cake so striking when sliced. Take whole Oreo cookies and stand them upright along the inner edge of the springform pan, fitting them snugly side by side all the way around so they form a ring that lines the whole circumference.
For the base, twist additional Oreos open and lay the halves, cream side up or down, in a single layer on the bottom of the pan, filling in as much of the surface as you can. The bottom layer does not need to be perfectly even because it will be covered by the ice cream mixture and will soften slightly as it freezes, but having the base lined with cookie pieces adds both texture and flavor to every bite.
4. Crush the Remaining Oreo Cookies
Place the remaining Oreo cookies into a large zip top bag, making sure not to overfill so you have room to crush them. Press out the excess air, seal the bag, then use a rolling pin or a sturdy skillet to smash the cookies until you have coarse crumbs with small chunks rather than a fine powder.
You should still see little pieces of cookie and cream because those chunks give a satisfying bite and prevent the cake from feeling like uniform ice cream. Measure out about half a cup of these coarse crumbs and set them aside in a small bowl for topping the cake later, leaving the rest in the bag or transferring them to a bowl for mixing into the softened ice cream.
5. Mix the Ice Cream Filling
Scoop the softened vanilla ice cream into a large mixing bowl that gives you plenty of room to fold in the add ins without spilling. Pour in ½ cup of caramel sauce and ½ cup of chocolate fudge sauce, letting them streak through the ice cream so you will later get caramel and chocolate in every spoonful.
Add most of the crushed Oreo crumbs to the bowl, reserving the portion you set aside for the topping, and then spoon in about ½ cup of walnuts in syrup if you are using them. Gently fold everything together with a wooden spoon or sturdy spatula until the sauces are swirled throughout, the crumbs are evenly dispersed and the walnuts are distributed so each slice gets a few crunchy, sweet bites without being overloaded.
6. Assemble and Top the Cake
Bring the prepared springform pan close to your work area and make sure the Oreo border and base are still in place. Pour the ice cream mixture into the center of the pan, taking care not to knock over the standing Oreos, and use a spatula to press the mixture gently into the gaps between the cookies and smooth the top into an even layer.
Sprinkle the reserved Oreo crumbs evenly over the surface so they form a generous, crunchy topping. If you like extra drama and sweetness, drizzle additional caramel sauce in thin lines across the top, letting a little drip down the sides for a bakery style look that makes the cake feel even more indulgent.
7. Freeze Until Firm and Slice
Fold the overhanging plastic wrap gently over the top to protect the cake from freezer odors, then place the pan on a flat shelf in the freezer. Let the cake set for at least 4 to 6 hours, or until it is very firm to the touch and the ice cream has fully re frozen, which prevents the slices from collapsing when you cut them.
When you are ready to serve, unclasp the springform ring and lift it away, then use the plastic wrap to help you lift and slide the cake onto a serving plate. Use the Oreo cookies standing around the edge as a visual guide for even slices, cutting between the cookies so each piece gets a whole Oreo on its outer edge and shows off the layered interior of ice cream, crumbs and sauce.
- Prep Time: 45 Mins
- Cook Time: 0 Mins