Cheesesteak stuffed peppers are a cozy, low-carb twist on a classic sandwich: tender roasted bell peppers packed with juicy beef, caramelized onions, mushrooms, and plenty of melty cheese.
The peppers get a head start in the oven while you cook the filling on the stove, then everything bakes together until the cheese is bubbling and golden around the edges. Using thinly sliced frozen cheesesteak beef makes the process fast because it cooks straight from frozen and breaks down into fine shreds that tuck neatly into each pepper half.
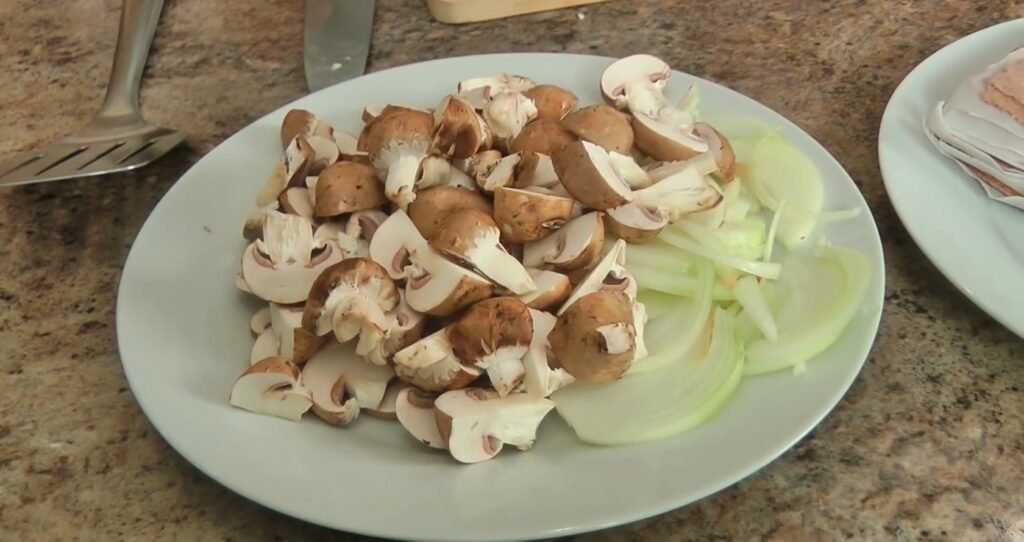
Before you start, gather and prep all ingredients so the cooking process feels smooth: halve and clean the peppers, thinly slice the onion and mushrooms, shred your cheese, and have the granulated garlic, salt, and pepper ready by the stove.
Ingredients You’ll Need
- 3 bell peppers
- 1 lb frozen Angus cut cheesesteak beef (or any very thinly sliced beef)
- 6 oz thinly sliced cremini mushrooms
- 1/2 yellow onion, thinly sliced
- 1/2 cup shredded cheese (cheddar or American–style works well)
- Sliced cheese of your choice (cheddar, American, provolone, etc.)
- Granulated garlic
- Salt and black pepper to taste
You will also need a large oven-safe baking dish for the peppers and a large skillet (cast iron if possible) for searing the beef and sautéing the vegetables.
Step 1: Pre-roast the Peppers
Preheat your oven to 400°F (about 200°C). Cut each bell pepper in half lengthwise through the stem, then gently pull out the seeds and any tough white membranes so you have six clean “boats” ready to fill.
Arrange the pepper halves, cut side up, in a baking pan so they sit snugly and don’t tip over as they roast and later when they’re stuffed. Slide the pan into the preheated oven and bake the peppers for about 20 minutes, just until they are slightly softened and beginning to look a bit wrinkled around the edges; this head start ensures the peppers are tender by the time the filling and cheese are cooked.
Step 2: Cook and Crumble the Beef
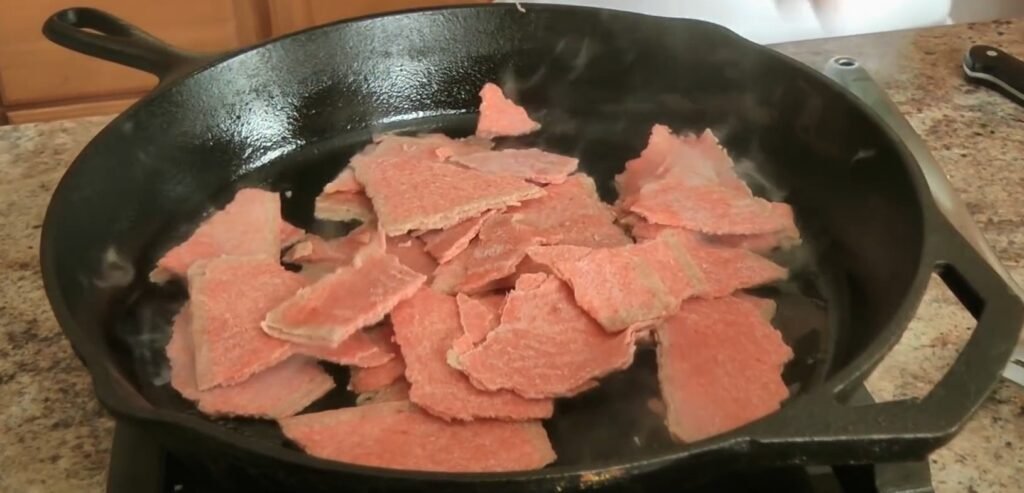
While the peppers are roasting, heat a large skillet over high heat; if the skillet is not well-seasoned cast iron, add a thin film of oil to prevent sticking. Add about half of the frozen sliced beef to the hot pan, keeping the pieces in a relatively even layer so they sear instead of steam; working in batches is essential because crowding the pan traps moisture and leads to pale, tough meat.
As the beef begins to brown, use a sturdy spatula to chop and scrape the meat, breaking it into fine shreds; the goal is a loose, cheesesteak-style texture rather than large strips. Cook until the beef is no longer pink and has released a good amount of fat, then transfer the cooked meat to a plate and repeat with the remaining beef until all of it is browned, finely broken up, and cooked through.
Step 3: Drain Fat and Sauté Vegetables
Once all the beef is cooked and removed from the skillet, carefully pour off most of the rendered fat, leaving behind just under 2 tablespoons to cook the vegetables; this small amount of flavorful fat replaces extra oil and carries the beefy taste into the mushrooms and onions. Return the skillet to medium-high heat and add the thinly sliced onions and cremini mushrooms, tossing them in the reserved fat to coat every slice lightly.
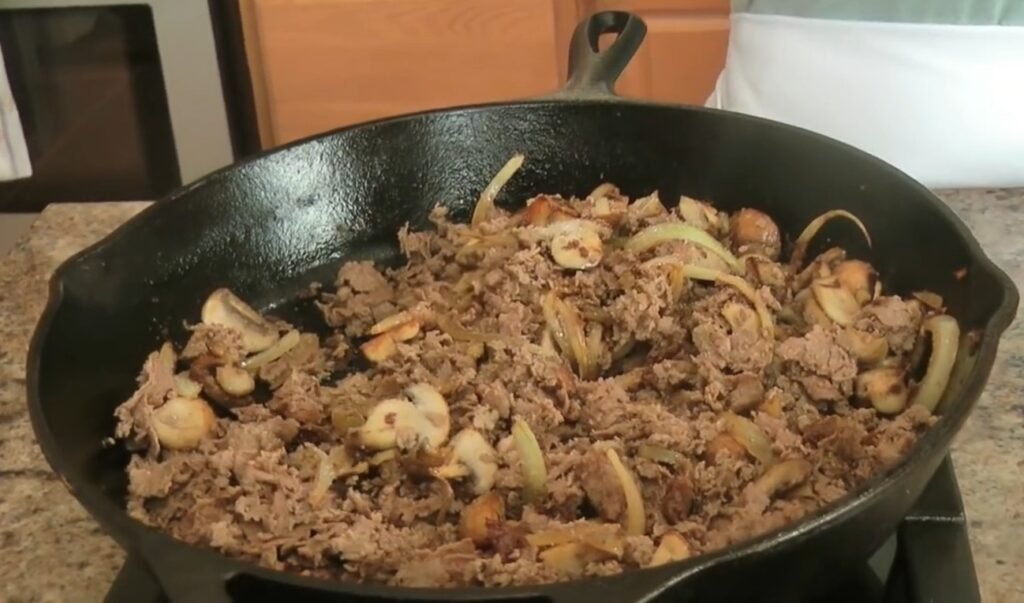
Sauté, stirring occasionally, until the onions turn soft and lightly golden and the mushrooms have released their moisture and taken on some caramelized color, which should take about 5 to 6 minutes; this step concentrates their flavor so the filling tastes rich instead of watery. When the vegetables are softened and slightly browned, add the cooked beef back into the skillet and fold it through the onions and mushrooms so everything is evenly combined.
Step 4: Season and Add Shredded Cheese
With the beef and vegetables together in the skillet, sprinkle a generous pinch of salt, a few grinds of black pepper, and a good shake of granulated garlic over the mixture; granulated garlic is used here instead of fresh because it offers gentle garlic flavor without overpowering the sweet onions and savory beef. Taste a small bite and adjust the seasoning, adding a little more salt or pepper if the mixture tastes flat, remembering that the cheese you add next will also contribute saltiness.
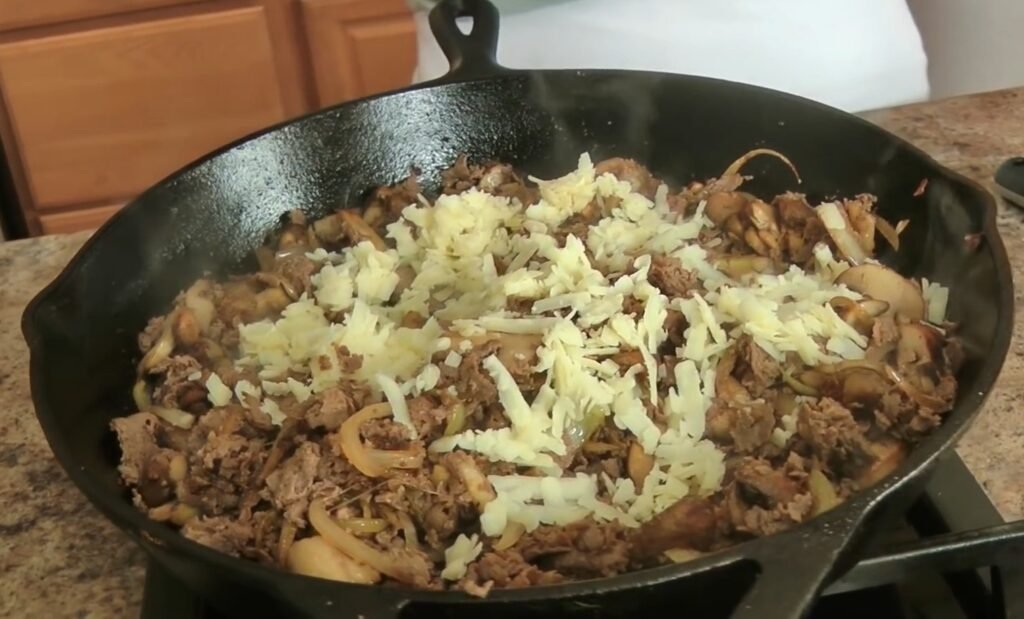
Turn off the heat and immediately scatter the shredded cheese over the hot filling, folding it through with a spatula until the cheese melts and binds everything together in a slightly creamy, cohesive mixture that will hold nicely in the pepper halves. The filling should look glossy and cheesy, with no dry pockets of meat or vegetables, and still be loose enough to spoon easily.
Step 5: Stuff and Top the Peppers
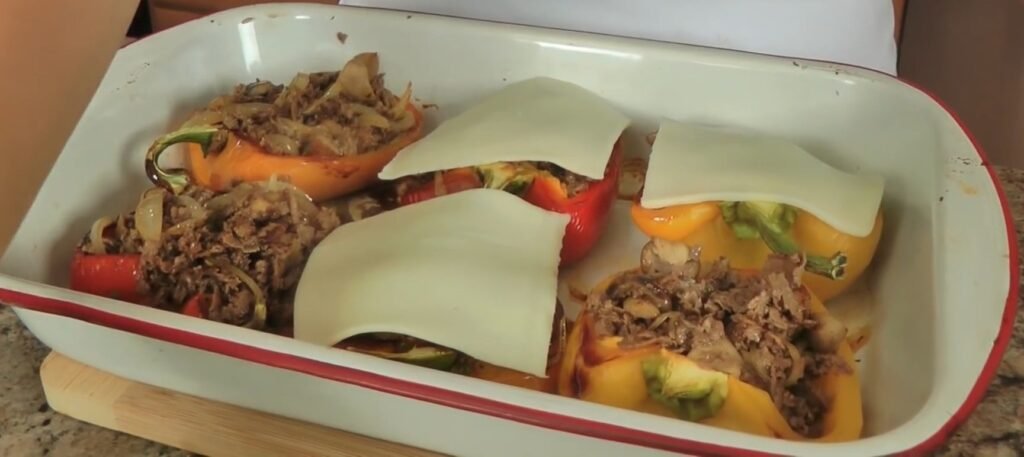
By this time, the peppers should be mostly tender from their initial roast; remove the baking pan from the oven and let the peppers cool just enough so you can handle the pan comfortably. Using a spoon, carefully divide the cheesesteak mixture among the pepper halves, mounding it up slightly so each pepper is generously filled from end to end.
Lay a slice of your chosen cheese over the top of each stuffed pepper, allowing it to drape slightly over the sides; this creates that classic, gooey cheesesteak finish and also helps keep the filling moist as it reheats in the oven. If the slices are large, you can trim or fold them so they fit neatly over each pepper while still giving full coverage.
Step 6: Final Bake and Serve
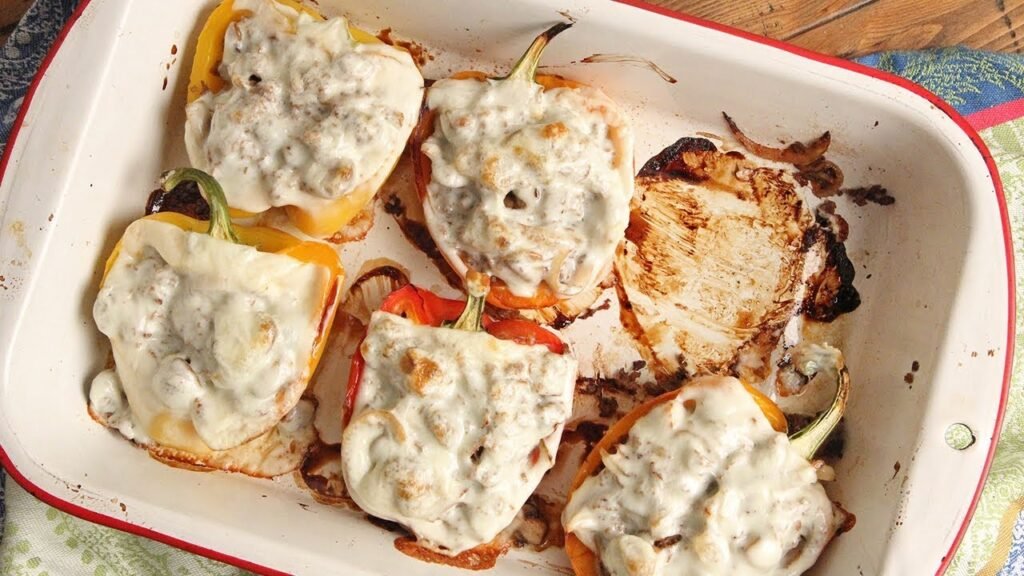
Return the pan of stuffed peppers to the 400°F oven and bake for about 10 minutes, or just until the cheese on top is fully melted and beginning to bubble; if you like a bit of golden color, you can switch the oven to broil for the last minute, watching closely so the cheese does not scorch. The filling is already cooked, so this stage is mostly about bringing all the components to the same hot temperature and letting the flavors meld in the pepper “shells.”
Once baked, let the peppers rest for a few minutes so the cheese settles slightly and the filling firms up enough to slice and serve without spilling. Serve the cheesesteak stuffed peppers hot, perhaps with a crisp salad or simple roasted vegetables on the side to complete a satisfying meal that feels hearty without relying on bread.
Extra Tips for Best Results
For the best texture, keep the beef in thin, shredded pieces by chopping it constantly with a spatula as it cooks; this prevents clumping and mimics the finely chopped style of classic cheesesteaks, which tucks easily into every corner of the peppers. Avoid overcrowding the skillet when browning the meat; cooking in smaller batches lets excess moisture evaporate quickly so the beef sears and caramelizes rather than steams, which adds deep flavor to the final dish.
Pre-roasting the peppers is non-negotiable if you want them pleasantly tender instead of crunchy; since the filling is fully cooked before stuffing, the peppers would remain too firm if you tried to cook everything in one step. When seasoning, remember that different cheeses have different salt levels: if you are using a salty cheddar or American cheese, be more conservative with the salt in the filling, whereas milder slices may need a slightly heavier hand with seasoning to keep the flavors balanced.
Finally, this recipe is flexible: you can swap in different colors of bell peppers, use a mix of cheeses (such as cheddar plus provolone), or adjust the amount of mushrooms and onions to suit your taste while still following the same core method of pre-roasting the peppers, fully cooking and seasoning the filling, and finishing with a short bake to melt the cheese.
Essential Equipment Guide
- Oven
- Baking pan
- Large skillet (cast iron preferred)
- Spatula
- Knife for slicing
Nutritional Information
Values estimated for 6 servings based on ingredients like 1lb beef, 3 peppers, mushrooms, onions, and cheese.
Pairings
- Fresh green salad for crunch and balance.
- Crispy fries or roasted potatoes as a side.
- Cold beer or iced tea to complement flavors.
Variations
- Use green or red bell peppers instead of any color for different sweetness levels.
- Swap cremini mushrooms for button mushrooms or omit for less earthiness.
- Try provolone slices on top instead of cheddar for authentic Philly cheesesteak taste.
Recipe Timing
Servings: 6
Prep Time: 20 minutes
Cook Time: 30 minutes
Print
Easy Cheesesteak Stuffed Peppers Recipe You’ll Make on Repeat
Cheesesteak stuffed peppers are a cozy, low-carb twist on a classic sandwich: tender roasted bell peppers packed with juicy beef, caramelized onions, mushrooms, and plenty of melty cheese.
- Total Time: 50 Mins
Ingredients
- 3 bell peppers
- 1 lb frozen Angus cut cheesesteak beef (or any very thinly sliced beef)
- 6 oz thinly sliced cremini mushrooms
- 1/2 yellow onion, thinly sliced
- 1/2 cup shredded cheese (cheddar or American–style works well)
- Sliced cheese of your choice (cheddar, American, provolone, etc.)
- Granulated garlic
- Salt and black pepper to taste
Instructions
Preheat your oven to 400°F (about 200°C). Cut each bell pepper in half lengthwise through the stem, then gently pull out the seeds and any tough white membranes so you have six clean “boats” ready to fill.
Arrange the pepper halves, cut side up, in a baking pan so they sit snugly and don’t tip over as they roast and later when they’re stuffed. Slide the pan into the preheated oven and bake the peppers for about 20 minutes, just until they are slightly softened and beginning to look a bit wrinkled around the edges; this head start ensures the peppers are tender by the time the filling and cheese are cooked.
Step 2: Cook and Crumble the BeefWhile the peppers are roasting, heat a large skillet over high heat; if the skillet is not well-seasoned cast iron, add a thin film of oil to prevent sticking. Add about half of the frozen sliced beef to the hot pan, keeping the pieces in a relatively even layer so they sear instead of steam; working in batches is essential because crowding the pan traps moisture and leads to pale, tough meat.
As the beef begins to brown, use a sturdy spatula to chop and scrape the meat, breaking it into fine shreds; the goal is a loose, cheesesteak-style texture rather than large strips. Cook until the beef is no longer pink and has released a good amount of fat, then transfer the cooked meat to a plate and repeat with the remaining beef until all of it is browned, finely broken up, and cooked through.
Step 3: Drain Fat and Sauté VegetablesOnce all the beef is cooked and removed from the skillet, carefully pour off most of the rendered fat, leaving behind just under 2 tablespoons to cook the vegetables; this small amount of flavorful fat replaces extra oil and carries the beefy taste into the mushrooms and onions. Return the skillet to medium-high heat and add the thinly sliced onions and cremini mushrooms, tossing them in the reserved fat to coat every slice lightly.
Sauté, stirring occasionally, until the onions turn soft and lightly golden and the mushrooms have released their moisture and taken on some caramelized color, which should take about 5 to 6 minutes; this step concentrates their flavor so the filling tastes rich instead of watery. When the vegetables are softened and slightly browned, add the cooked beef back into the skillet and fold it through the onions and mushrooms so everything is evenly combined.
Step 4: Season and Add Shredded CheeseWith the beef and vegetables together in the skillet, sprinkle a generous pinch of salt, a few grinds of black pepper, and a good shake of granulated garlic over the mixture; granulated garlic is used here instead of fresh because it offers gentle garlic flavor without overpowering the sweet onions and savory beef. Taste a small bite and adjust the seasoning, adding a little more salt or pepper if the mixture tastes flat, remembering that the cheese you add next will also contribute saltiness.
Turn off the heat and immediately scatter the shredded cheese over the hot filling, folding it through with a spatula until the cheese melts and binds everything together in a slightly creamy, cohesive mixture that will hold nicely in the pepper halves. The filling should look glossy and cheesy, with no dry pockets of meat or vegetables, and still be loose enough to spoon easily.
Step 5: Stuff and Top the PeppersBy this time, the peppers should be mostly tender from their initial roast; remove the baking pan from the oven and let the peppers cool just enough so you can handle the pan comfortably. Using a spoon, carefully divide the cheesesteak mixture among the pepper halves, mounding it up slightly so each pepper is generously filled from end to end.
Lay a slice of your chosen cheese over the top of each stuffed pepper, allowing it to drape slightly over the sides; this creates that classic, gooey cheesesteak finish and also helps keep the filling moist as it reheats in the oven. If the slices are large, you can trim or fold them so they fit neatly over each pepper while still giving full coverage.
Step 6: Final Bake and ServeReturn the pan of stuffed peppers to the 400°F oven and bake for about 10 minutes, or just until the cheese on top is fully melted and beginning to bubble; if you like a bit of golden color, you can switch the oven to broil for the last minute, watching closely so the cheese does not scorch. The filling is already cooked, so this stage is mostly about bringing all the components to the same hot temperature and letting the flavors meld in the pepper “shells.”
Once baked, let the peppers rest for a few minutes so the cheese settles slightly and the filling firms up enough to slice and serve without spilling. Serve the cheesesteak stuffed peppers hot, perhaps with a crisp salad or simple roasted vegetables on the side to complete a satisfying meal that feels hearty without relying on bread.
- Prep Time: 20 Mins
- Cook Time: 30 Mins