Ingredients
For the burgers:
- 1 lb of Ground Chicken
- 1/2 of a Zucchini, grated and squeezed of any excess moisture
- 1/2 of a Yellow Onion, grated
- 1 Clove of Garlic, grated
- 1 tsp of Paprika
- 2 Tbsp of Ranch Dressing Mix
- 1 tsp of Olive Oil
- Salt and Pepper, to taste
For the Yogurt Sauce:
- 1/2 cup of Plain Greek Yogurt
- 1 Clove of Garlic, minced
- 1 Tbsp of Chopped Dill
- Salt to taste
- Drizzle of Olive Oil
- Squeeze of 1/2 lemon
Instructions
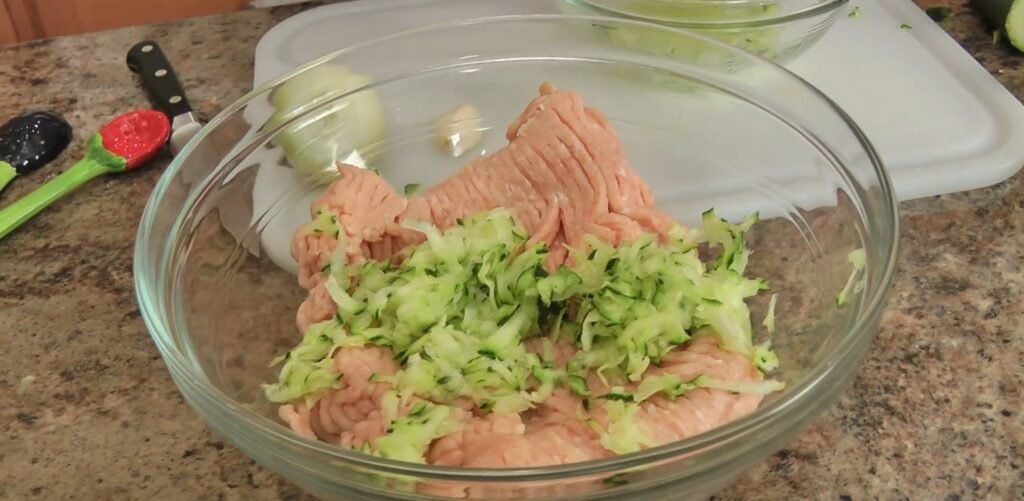
Start by grating half a zucchini using a box grater, focusing on the finer side for a good texture that blends seamlessly into the meat. Take the grated zucchini in handfuls and squeeze out as much excess moisture as possible over a sink or bowl, since too much liquid makes the patties too wet and hard to form. This step keeps the burgers juicy without sogginess, as ground chicken tends to dry out during cooking.
Next, grate half a yellow onion, about 2 tablespoons worth, stopping before the root end to avoid slips. Use the same grater or switch to a microplane for finer shreds that release flavor evenly. Grate one clove of garlic directly into the mix for pungent freshness that infuses every bite.
Step 2: Mix the Burger Ingredients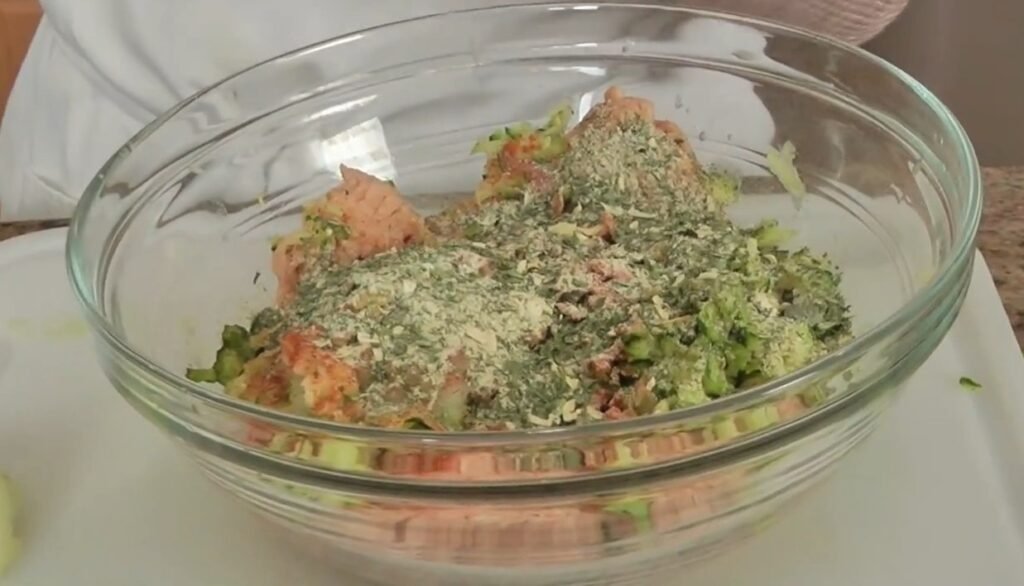
In a large bowl, combine the 1 lb of ground chicken, prepared zucchini, onion, and garlic. Add 1 tsp paprika for smoky depth, 2 Tbsp ranch dressing mix for that signature herby tang (homemade or store-bought works), and season with salt and pepper to taste. Drizzle in 1 tsp olive oil to boost flavor and add a touch of fat for tenderness.
Gently mix everything with your hands or a fork until just combined, avoiding overworking the mixture which toughens the chicken. The result should feel sticky and cohesive, ready for shaping.
Step 3: Form the Patties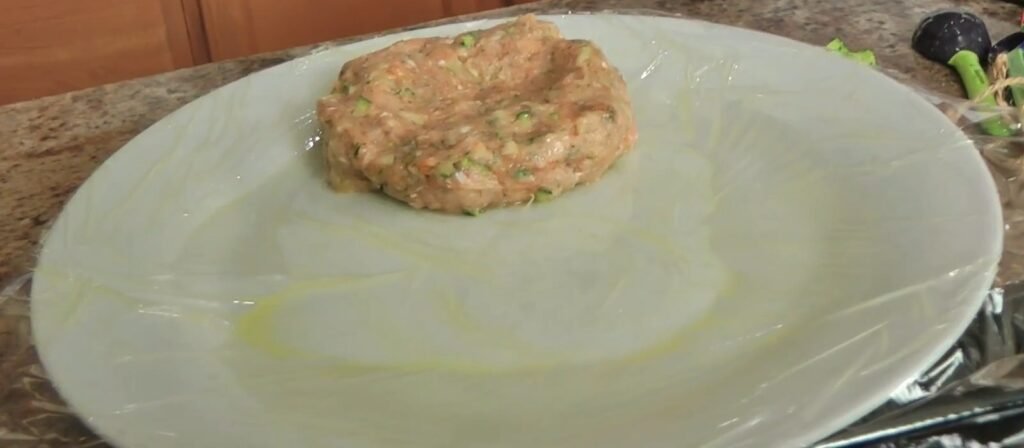
Lightly oil a plate and line it with plastic wrap to prevent sticking. Dampen your hands with water to handle the sticky mixture easily. Divide into 4 equal patties, pressing gently without compacting too much.
Make a small divot in the center of each patty with your thumb; this prevents puffing during cooking for even, flat results. Cover with plastic wrap and refrigerate for 1 hour to firm up, as there’s no binder and chilling helps them hold shape.
Step 4: Prepare the Yogurt Sauce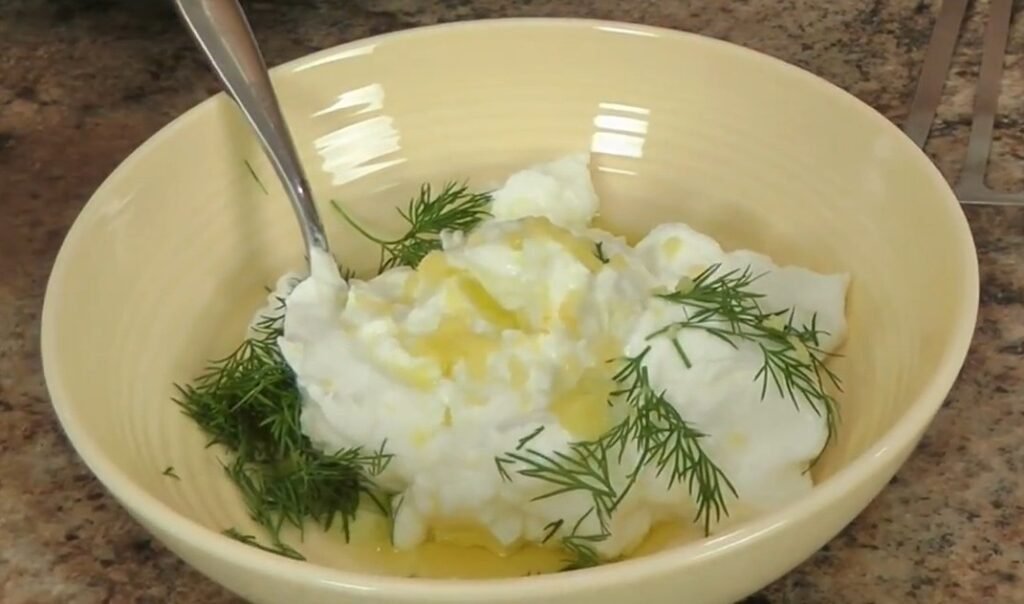
While patties chill, mix the sauce in a small bowl. Combine 1/2 cup plain Greek yogurt, 1 minced garlic clove (grated if you prefer stronger flavor, but reduce to quarter clove for milder), 1 Tbsp chopped dill, salt to taste, a drizzle of olive oil, and juice from half a lemon. Whisk until smooth and creamy.
Taste and adjust seasoning; the garlic intensifies when grated, so start small. Let it sit at room temperature to meld flavors.
Step 5: Cook the Patties
Remove patties from fridge 20 minutes ahead to reach room temperature for even cooking and juiciness. Heat a non-stick skillet over medium-high with a thin coat of light olive or avocado oil (high smoke point essential).
Add patties without overcrowding. Cook 3 to 4 minutes per side until golden and cooked through (internal temp 165F if checking). Avoid flipping too early to ensure a good sear.
Step 6: Rest and Serve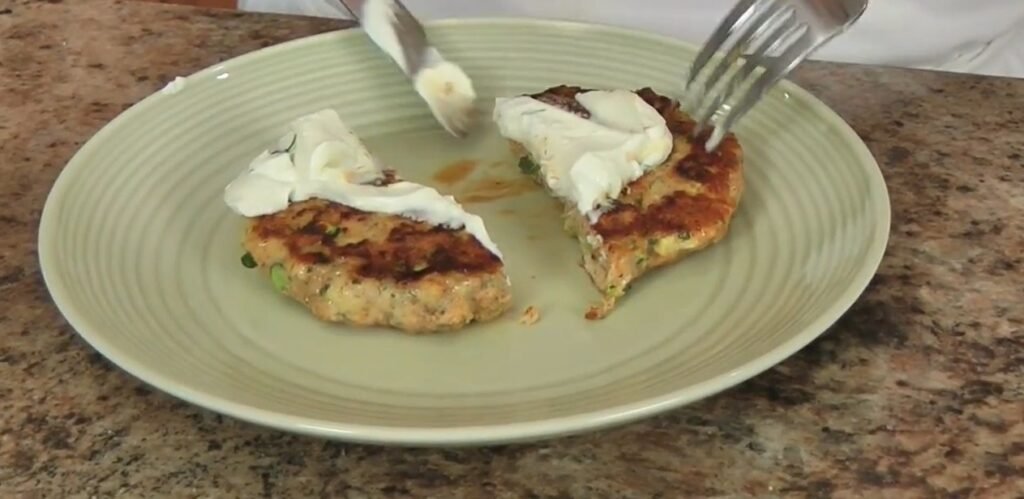
Transfer patties to a plate and rest 5 minutes; this redistributes juices for maximum tenderness. Dollop generously with yogurt sauce, or serve alongside for dipping.
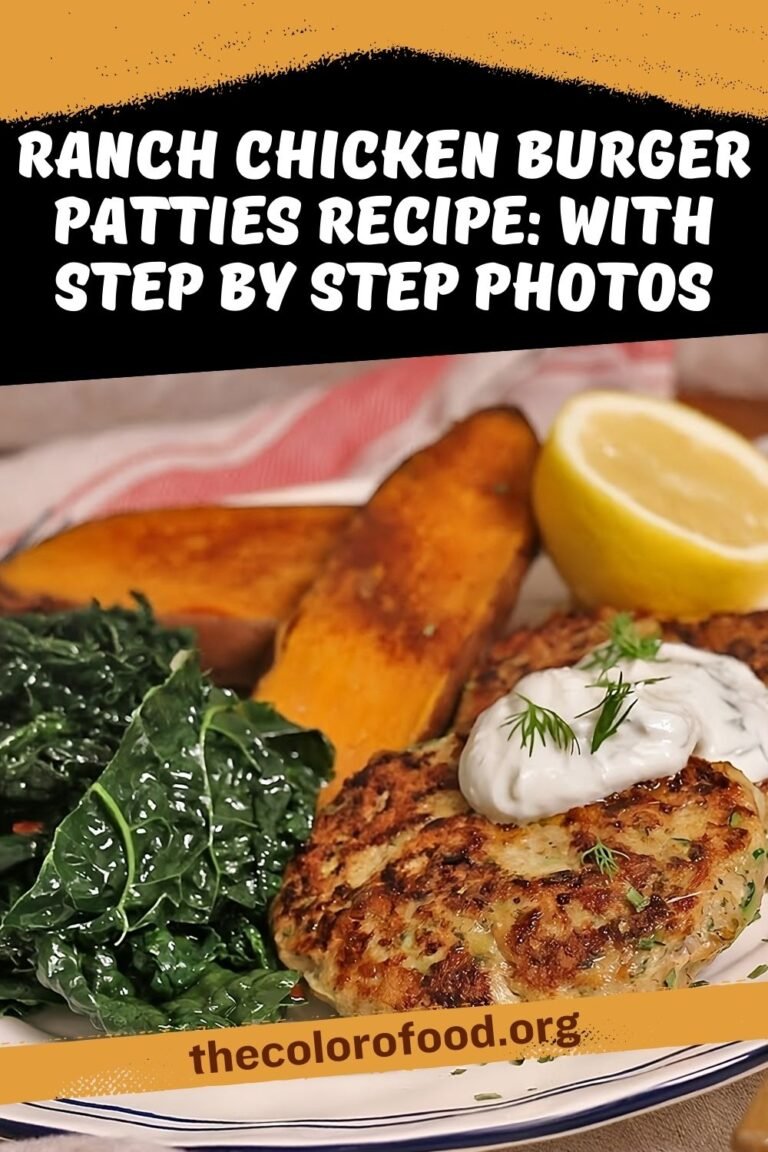
Slice open to reveal moist interiors thanks to zucchini. Pair with kale or roasted sweet potatoes for a complete meal, no bun needed.
- Prep Time: 20 Mins
- Cook Time: 10 Mins