
Ingredients
- 1/3 cup of Soy Sauce
- 1/3 cup of Water
- 1 Clove of Garlic, minced
- 1 Tsp of Grated Ginger
- 2 Tbsp of Brown Sugar
- 2 Tbsp of Mirin
- 1/4 tsp of Sesame Oil
- 1 Tbsp of Cornstarch
- 1 Tbsp of Water (for slurry)
- 1/3 cup of Honey
- 2 lb of Wings already trimmed (party wings or split sections work best)
Instructions
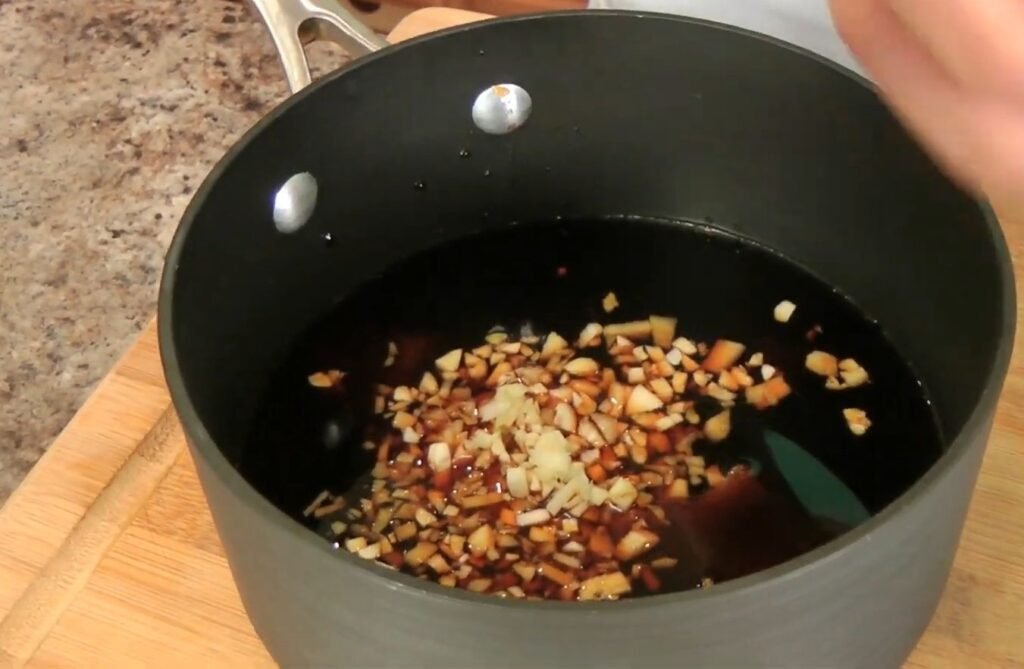
Start by gathering all your sauce ingredients in a saucepan to create the foundation of the glaze. Add 1/3 cup soy sauce, 1/3 cup water, 2 tablespoons mirin, 2 tablespoons brown sugar, 1/4 teaspoon sesame oil, 1 minced garlic clove, and 1 teaspoon grated ginger. These elements come together to form a balanced sweet and umami-packed mixture. Place the saucepan over medium heat on the stove and bring it to a gentle simmer.
Stir occasionally as the heat works its magic, allowing the brown sugar to fully dissolve into the liquid. This process takes about 3 to 4 minutes, and you will notice the mixture becoming smooth and fragrant with hints of ginger and garlic wafting through the kitchen. Keep the heat steady to avoid boiling too vigorously, which could alter the flavors. Once the sugar has melted completely and everything is well combined, the base is ready for the next stage. This step ensures the sauce develops depth before thickening.
Step 2: Create the Cornstarch Slurry and Thicken
While the sauce simmers, prepare the thickening agent in a small bowl. Measure out 1 tablespoon of cornstarch and mix it with 1 tablespoon of cold water. Use a spoon or small whisk to stir until the cornstarch fully dissolves, forming a smooth slurry without any lumps. This slurry is crucial because it will give the teriyaki sauce its glossy, clingy texture that coats the wings perfectly. Once the sauce in the saucepan is simmering and the sugar is dissolved, slowly pour in the slurry while stirring constantly.
The mixture will immediately start to thicken as the cornstarch activates with the heat. Continue cooking on medium heat for about 2 minutes, stirring to prevent sticking. You will see the sauce turn from cloudy to clear and glossy, indicating it’s properly thickened. Remove the saucepan from the heat and let the sauce cool to room temperature. Cooling is important because adding it warm to the honey later makes mixing easier, and it prevents the honey from becoming too runny. Set this aside, perhaps in the fridge for faster cooling if you’re in a hurry, but aim for at least lukewarm before proceeding.
Step 3: Preheat Oven and Enhance the Sauce
With the teriyaki sauce cooling, turn your attention to the oven. Preheat it to 400 degrees Fahrenheit. This temperature is ideal for baking the wings to crispy perfection without drying them out. Now, enhance the cooled sauce by stirring in 1/3 cup of honey until fully incorporated. The honey adds a rich, caramelizing sweetness that elevates the teriyaki to honey teriyaki glory. For a subtle kick, add a pinch of hot pepper flakes; this brings a mild heat that balances the sweetness without overpowering.
Mix thoroughly to ensure even distribution. Taste a small bit if desired (remember it’s potent concentrated), and adjust flakes if you prefer more spice. You now have about half the sauce needed for tossing the wings, with extra for basting or serving. This homemade version allows control over sweetness and thickness, far superior to store-bought.
Step 4: Prepare the Baking Pan and Toss Wings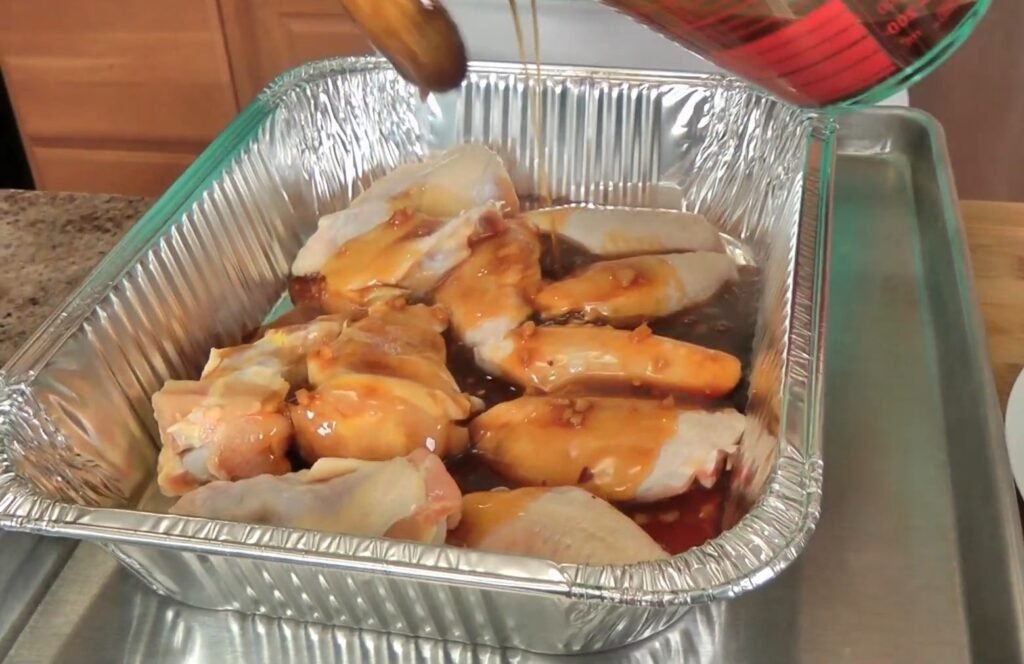
Select a disposable foil baking pan for ultimate ease, as the honey will caramelize and stick during baking. If using a regular pan, line it heavily with aluminum foil, spraying lightly with nonstick for extra insurance. Place 2 pounds of trimmed wings into the pan. These should be party wings or split flats and drumettes for even cooking. Pour about half of the honey teriyaki sauce directly over the wings.
Use your hands or tongs to toss thoroughly, ensuring every piece is evenly coated in the glossy mixture. The wings should look saucy and glistening, with sauce pooling slightly at the bottom. This initial coating allows the flavors to penetrate as they bake. Avoid overcrowding the pan; if needed, use two pans for even cooking. The disposable pan tip saves scrubbing time, especially with the sticky glaze.
Step 5: Initial Bake for Caramelization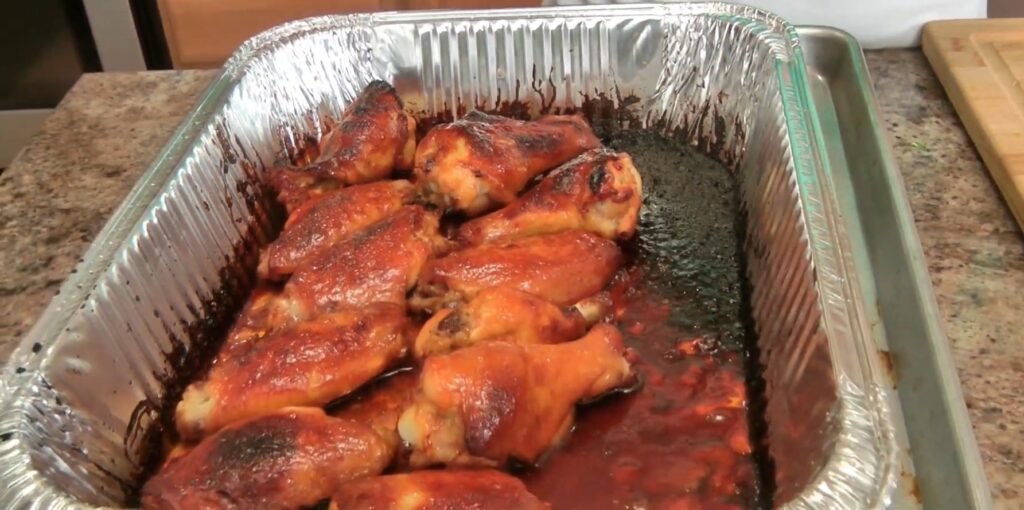
Slide the saucy wings into the preheated 400-degree oven. Bake uncovered for the first 30 minutes. The oven heat will render fat from the wings, crisping the skin while the sauce bubbles and starts to caramelize. You may notice some dark spots forming on the pan edges from the honey sugars; this is normal and adds flavor.
After 15 minutes, check and flip the wings using tongs to promote even browning on all sides. Rotate the pan if your oven has hot spots. The aroma filling your kitchen will be irresistible, signaling sticky-sweet perfection is underway. Continue baking until the wings reach about 45 minutes total, watching for deep golden color and crispy edges.
Step 6: Baste and Finish BakingIn the final 15 minutes, elevate the wings further with basting. Use a pastry brush to generously apply more of the reserved honey teriyaki sauce over the skin side up wings every 5 minutes. This adds layers of flavor and shine, creating that finger-licking lacquer.
Flip occasionally if needed for evenness. The wings are done when they register 165-170 degrees internally if checked with a thermometer, or when skins are deeply caramelized and juices run clear. Total bake time is 45 minutes to 1 hour depending on wing size and oven. Remove from oven and let rest 5 minutes on the pan; the sauce will thicken as it cools slightly.
Step 7: Garnish and ServeTransfer wings to a serving platter using tongs, leaving excess sauce in the pan if desired. Sprinkle sesame seeds for crunch and visual appeal, followed by chopped green onions or scallions for fresh color and bite. These garnishes contrast the rich glaze beautifully. Serve immediately while hot, with extra sauce on the side for dipping. Enjoy the sticky, flavorful wings that pull cleanly from the bone.
- Prep Time: 15 Mins
- Cook Time: 1 hr