
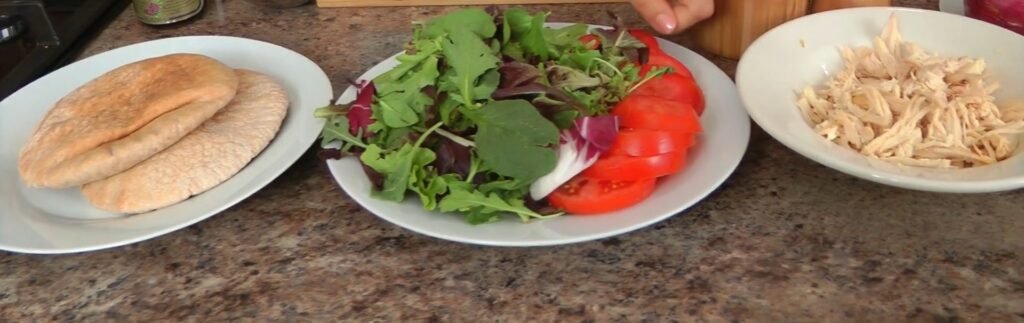
Ingredients
- 6 6-inch Pita Pockets
- 1 lb of Cooked Shredded Chicken Breast
- 3 Tbsp of Marinated Sun Dried Tomatoes, chopped
- 3 Tbsp of Kalamata Olives, pitted and chopped
- 1 Clove of Garlic, minced
- 3 Vine Ripe Tomatoes, sliced into 4 slices each
- 2 Tbsp of Extra Virgin Olive Oil
- 3 cups of Spring Mix Lettuce
- ¼ of Red Onion, finely chopped
- 2 Tbsp of Balsamic Vinegar
- ¼ cup of Fresh Basil, chopped
- Salt and Pepper, to taste
Instructions
Start by washing all your fresh produce under cool running water to ensure everything is clean and ready for use. Take the 3 vine ripe tomatoes and slice each one into 4 even slices, aiming for uniform thickness so they fit nicely into the pita pockets later. Set these aside on a plate. Next, grab the ¼ of red onion and peel it first to remove the outer skin, then finely chop it into small pieces, about the size of rice grains, to distribute flavor evenly without overpowering bites.
The key here is precision in chopping, as larger pieces can make the sandwich bulky. Finely mince the 1 clove of garlic, pressing it through a garlic press if available or chopping it very small to release its aroma without harsh chunks. Chop the ¼ cup of fresh basil leaves, stacking a few leaves, rolling them tightly, and slicing thinly for ribbon-like strips that add vibrant color and fresh taste.
Pit and chop the 3 Tbsp of Kalamata olives into small bits, and do the same for the 3 Tbsp of marinated sun-dried tomatoes, which bring tangy, chewy elements. This prep step builds layers of flavor and takes just a couple of minutes, setting the foundation for a Mediterranean-inspired filling that bursts with freshness in every bite.
Step 2: Shred and Check the ChickenEnsure you have 1 lb of cooked shredded chicken breast ready, ideally from a leftover roast chicken for maximum flavor infusion. If your chicken is in larger pieces, use two forks to pull it apart into fine shreds, mimicking pulled texture that mixes seamlessly.
Check for any bones or skin remnants and discard them. Pat the chicken lightly with a paper towel if moist to avoid sogginess in the mixture. This step is crucial because the chicken acts as the hearty base, absorbing dressings while staying tender.
Leftover roast chicken works best as it carries subtle seasoning from prior cooking, enhancing the overall profile without extra effort. Spread the shredded chicken on a cutting board briefly to fluff it up, ensuring even distribution when combining later.
Step 3: Mix the Chicken Salad Filling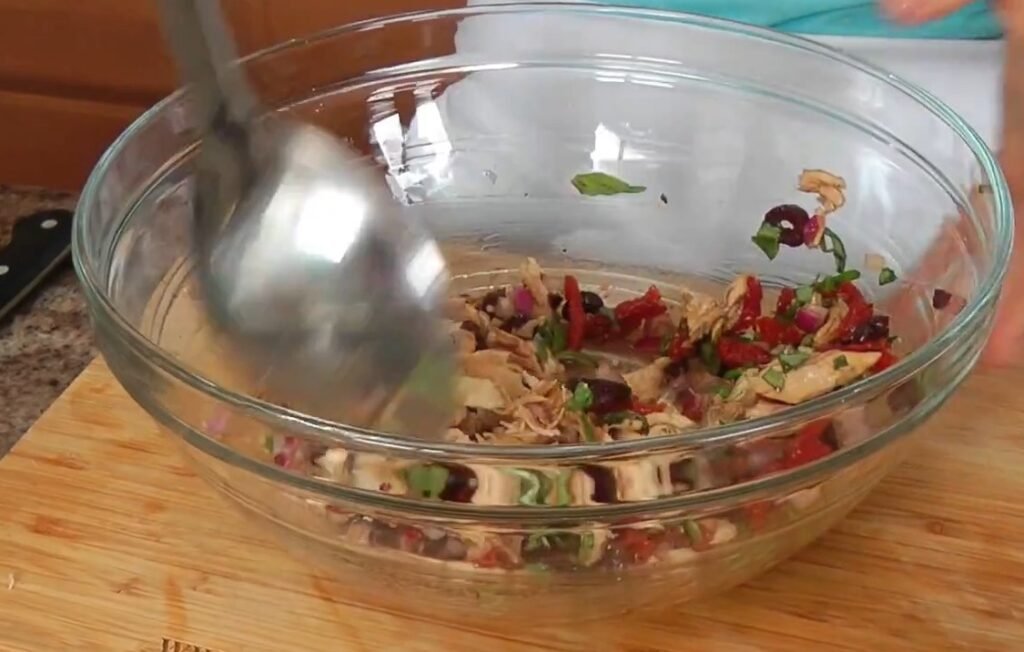
In a large mixing bowl, add the shredded chicken, chopped red onion, minced garlic, chopped Kalamata olives, chopped sun-dried tomatoes, and chopped fresh basil. Drizzle over 2 Tbsp of extra virgin olive oil and 2 Tbsp of balsamic vinegar, which provide a glossy coating and zesty tang.
Season lightly with salt and pepper, remembering the olives are naturally salty, so taste as you go. Use a spoon or clean hands to toss everything together gently but thoroughly, allowing the oil and vinegar to coat every strand of chicken and veggie bit.
The mixture should look glossy and aromatic, with basil flecks dotting the surface. Let it sit for 2-3 minutes if time allows, so flavors meld; the balsamic tenderizes the chicken slightly while the garlic infuses depth. Stir once more to confirm evenness. This filling can be prepped ahead and stored cold, making it ideal for meal prep without quality loss.
Step 4: Prep the Pita PocketsTake the 6 6-inch pita pockets and slice each one horizontally around the edge to create a pocket, being careful not to cut all the way through. Gently open each pocket with your fingers to check for easy filling access; if stiff, warm them briefly in a microwave for 10 seconds or a low oven to soften. Avoid over-toasting as you want them pliable to hold the filling without tearing. Lay them out on a clean surface. This step prevents breakage during stuffing and keeps the sandwich intact for eating on the go.
Step 5: Assemble the Sandwiches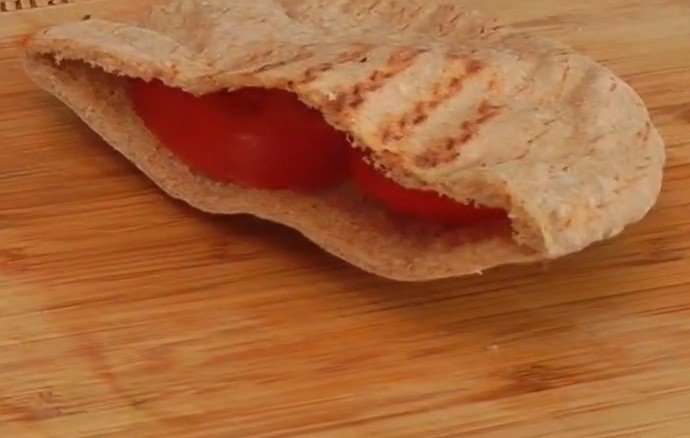
For each pita pocket, start by placing 2 slices of the vine ripe tomatoes inside first, layering them flat against one side for juiciness that soaks in subtly. Season the tomatoes lightly with a pinch of salt and pepper to draw out their natural sweetness. Add a handful of spring mix lettuce, about ½ cup per sandwich, pushing it in gently to create a crisp bed.
Spoon in 2-3 generous scoops of the chicken salad mixture, packing it snugly but not overflowing. Press lightly to settle, then repeat for all pockets. The assembly order matters: tomatoes first protect the pita, lettuce adds crunch, and chicken fills the center. If packing for lunch, store filling, lettuce, tomatoes, and pita separately in airtight containers to maintain crispness; assemble just before eating.
Step 6: Serve ImmediatelyServe the sandwiches right away for peak freshness, as the juicy tomatoes and dressing keep everything vibrant. Cut in half if desired for easier handling, revealing the colorful layers inside. Pair with a side for a complete meal. Enjoy cold or at room temperature; they hold up well without refrigeration for short periods but keep chilled for longer storage.
- Prep Time: 5 Mins
- Cook Time: 0 Mins