
Ingredients
For the Chicken:
- 2/3 cup of Buttermilk
- 1-1/2 lb of Thinly Sliced Chicken Breast, each piece cut in half
- 1 Tbsp of Chicken Seasoning of any seasoning of your choice
- 1 Tbsp of Granulated Garlic
- Salt and Pepper
For the Dredging and Frying:
- 1-1/2 cup of All Purpose Flour
- 1 Tbsp of Chicken Seasoning
- Salt and Pepper, to taste
- Vegetable Oil for frying
For the Sandwich:
- 6 Soft Large Hamburger Rolls
- Green Leaf Lettuce
- Sliced Tomatoes
- Buffalo Sauce
- Ranch or Blue Cheese Dressing
Instructions
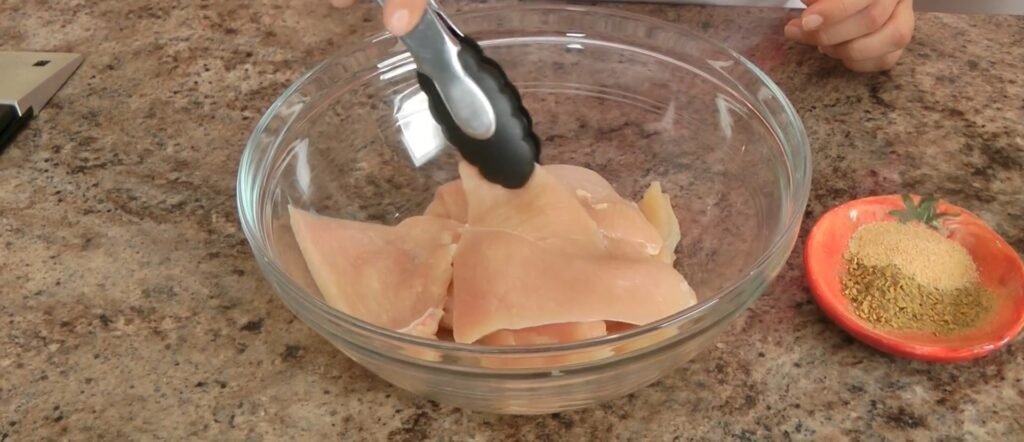
Start by preparing the chicken for maximum tenderness and flavor absorption, as demonstrated where I emphasize buttermilk’s role in breaking down proteins. Take the 1-1/2 pounds of thinly sliced chicken breast and cut each piece in half to create even manageable portions that cook quickly and uniformly.
In a large bowl, pour 2/3 cup of buttermilk, then add 1 tablespoon of chicken seasoning, 1 tablespoon of granulated garlic, and season generously with salt and pepper to taste. Mix these marinade ingredients thoroughly until the seasoning dissolves evenly in the buttermilk, creating a tangy base that will infuse the chicken with subtle herbaceous notes.
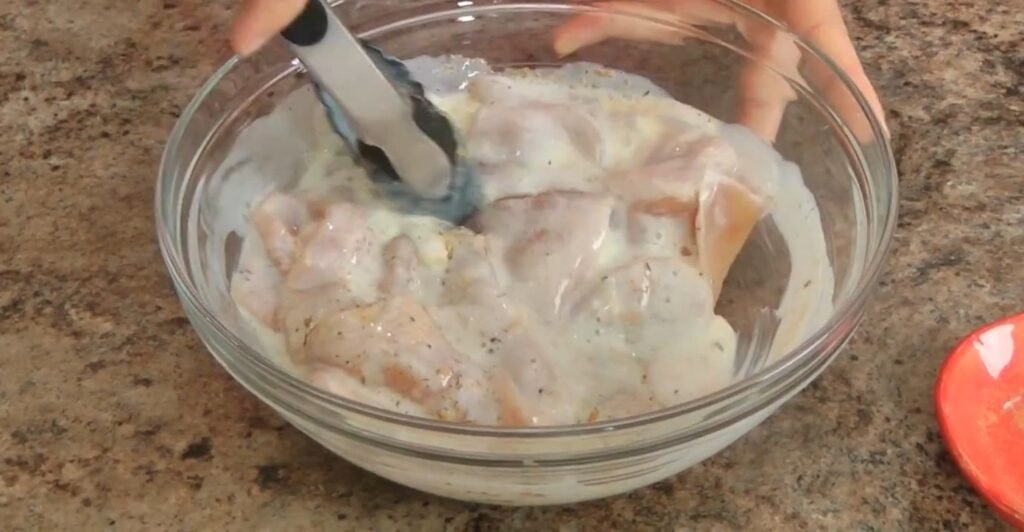
Add the chicken pieces to this mixture, ensuring every cutlet is fully submerged. Use your hands or tongs to gently massage the marinade into the meat, coating all surfaces completely. Cover the bowl with plastic wrap or a lid and refrigerate for at least 1 hour, but ideally 4 to 8 hours for deeper flavor penetration, mimicking the video’s soak time that yields juicy results inside the crispy exterior.
This marination step not only tenderizes the chicken through buttermilk’s acidity but also primes it for the dredging process ahead, preventing dryness during frying. Stir occasionally if possible to redistribute the marinade.
Step 2: Prepare the Dredging Station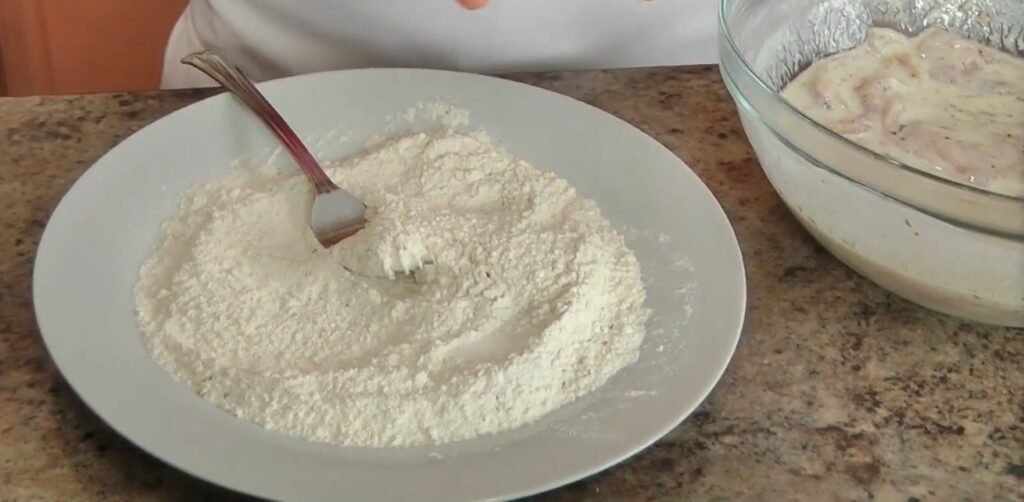
While the chicken marinates, set up an efficient dredging station on your countertop, following the video’s straightforward two-bowl method for double-dipping that locks in crispiness. In a shallow wide bowl or pie plate, measure out 1-1/2 cups of all-purpose flour.
To this flour, add 1 tablespoon of chicken seasoning and season with salt and pepper to taste, whisking everything together with a fork until uniformly combined; this seasoned flour ensures every bite bursts with flavor rather than relying solely on sauce. Place this bowl next to the marinated chicken. Line a baking sheet or large platter with parchment paper or a wire rack for the dredged chicken to rest, preventing sogginess.
Have a second empty shallow bowl ready nearby for the wet-to-dry transfer. This setup streamlines the process, reducing mess and allowing smooth workflow as you bread multiple pieces at once. Heat about 1-2 inches of vegetable oil in a large cast-iron skillet or Dutch oven over medium-high heat until it reaches 350-375 degrees Fahrenheit, tested with a thermometer or by dropping in a pinch of flour that sizzles immediately, just like in the video’s frying demo.
Step 3: Dredge and Fry the Chicken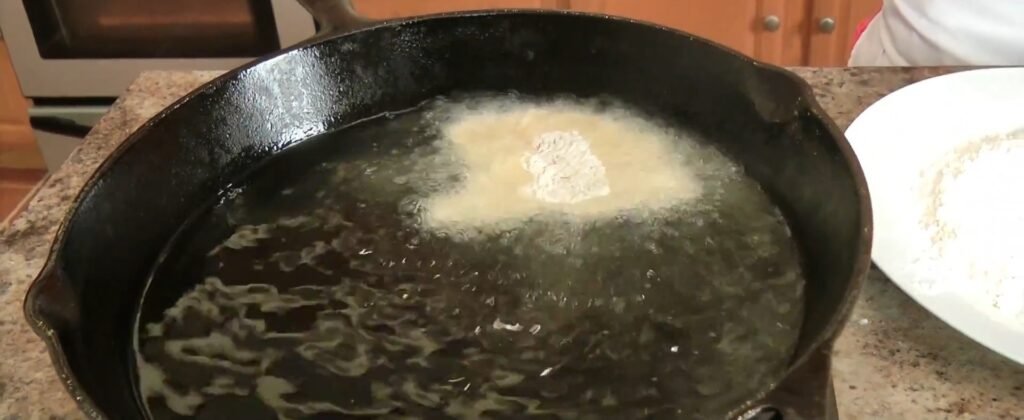
Remove the chicken from the marinade, letting excess buttermilk drip off back into the bowl to avoid clumpy flour, a key tip from the video for perfect adhesion. Dredge each piece first in the seasoned flour, pressing lightly to coat all sides evenly, then dip back into the leftover buttermilk marinade for a second coating.
Finally, dredge again in the flour mixture, pressing firmly this time to build a thick, shaggy crust that puffs up during frying for extra crunch. Shake off excess flour gently and place on the prepared baking sheet. Let the dredged pieces rest for 5-10 minutes; this crucial pause allows the coating to set and hydrate slightly, resulting in less shedding in the oil.
Fry in batches of 2-3 pieces at a time to avoid overcrowding, which drops the oil temperature and leads to greasy results. Cook for 3-4 minutes per side until deeply golden brown and the internal temperature hits 165 degrees Fahrenheit, flipping once with tongs.
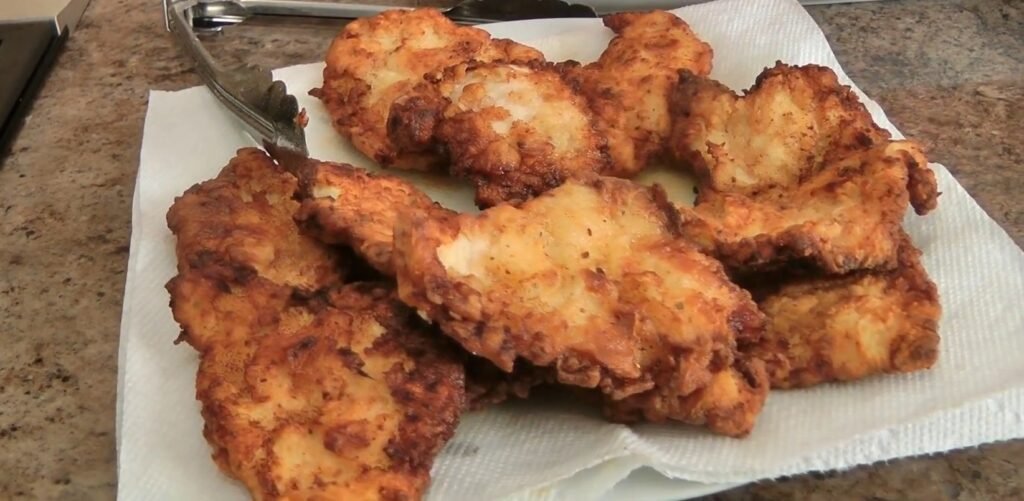
Transfer fried chicken to a wire rack over a baking sheet to drain excess oil, seasoning immediately with a sprinkle of salt. Maintain oil temperature between batches by adjusting heat, ensuring consistent crispiness as shown in the video.
Step 4: Assemble the Sandwiches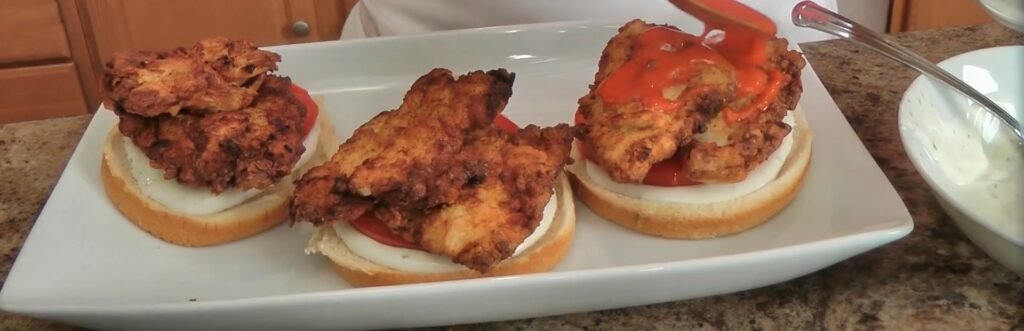
Toast the 6 soft large hamburger rolls lightly on a skillet or under the broiler for 1-2 minutes until golden, adding structure that holds up to the saucy filling. Layer the bottom roll with a large green leaf lettuce leaf to prevent sogginess from juices, followed by 2-3 thin slices of fresh tomato for brightness and acidity that cuts through the richness.
Drizzle or brush buffalo sauce generously over the hot fried chicken cutlets straight from the fryer, tossing lightly to coat evenly without making them soggy; the video highlights applying sauce post-fry to preserve crunch. Place one sauced chicken cutlet on each sandwich base.
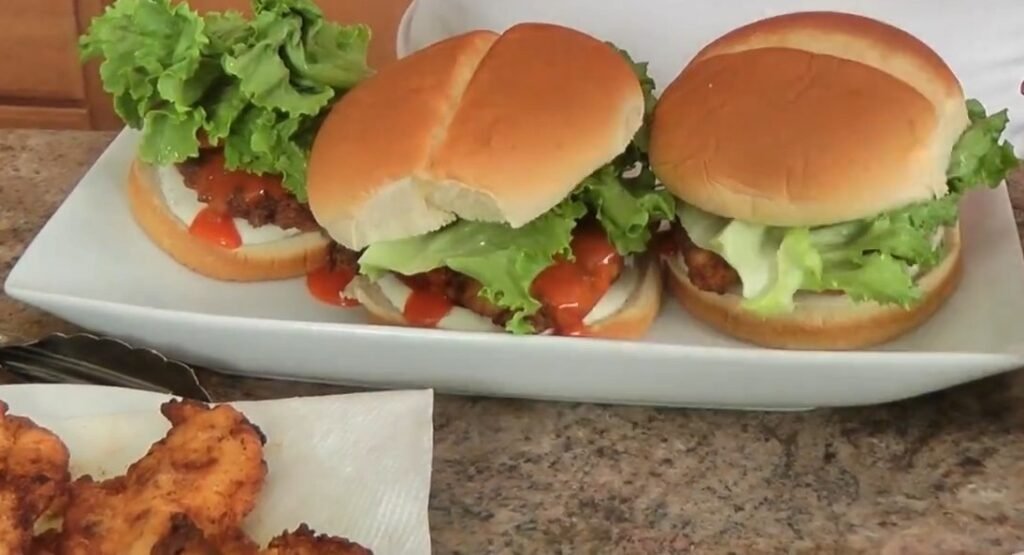
Finish with a dollop of ranch or blue cheese dressing for cooling creaminess that balances the heat. Cap with the top bun, pressing gently to compress layers. Let sandwiches rest for 1 minute before serving to meld flavors. Slice in half if desired for easier eating.
- Prep Time: 20 Mins
- Cook Time: 20 Mins