Ingredients
- Double layer pie crust (same crust as the pumpkin pie crust, just double the amount so you have 2 pieces)
- 6 Golden Delicious apples, cored, sliced, and tossed in 1 tbsp lemon juice
- ¾ cup sugar
- 2 tbsp flour
- 1 tsp cinnamon
- ¼ tsp salt
- ¼ tsp nutmeg
- Zest of 1 medium orange
- Egg wash: 1 egg mixed with 2 tbsp water
Instructions
Begin by setting your oven to 425°F (about 220°C) so it is fully preheated by the time the pie is assembled, which helps the bottom crust set quickly and prevents sogginess. Lightly spray or grease a 9‑inch glass pie plate with non‑stick cooking spray and set it aside, as glass lets you see how the bottom crust is browning while the pie bakes.
Step 2: Prepare the Apple Filling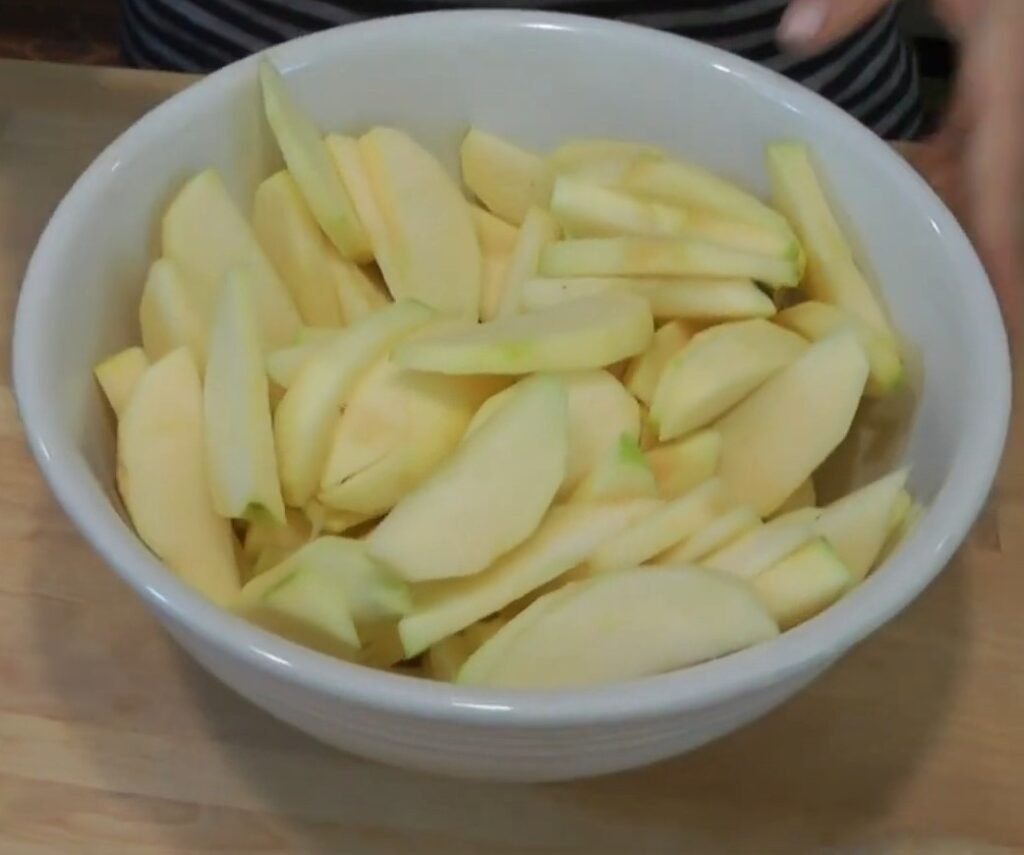
Your apples should already be cored, sliced, and tossed with lemon juice to keep them from browning and to brighten the flavor. In the same large bowl, add the sugar, flour, cinnamon, salt, nutmeg, and orange zest, then toss thoroughly until every slice is coated; the flour will thicken the juices as the pie bakes, creating a glossy, sliceable filling instead of a runny one.
Step 3: Roll Out the Bottom Crust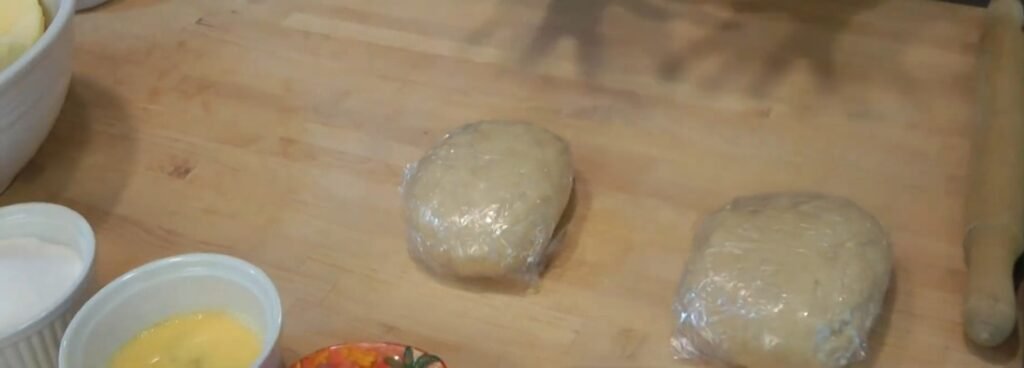
Lightly flour your work surface and rolling pin, then place one piece of pie dough in the center. Roll from the middle outward, turning the dough occasionally, until you have a circle large enough that, when fitted into the pie plate, it overhangs the rim by about 1 inch all the way around, which gives you enough excess to seal and crimp the top crust later.
Step 4: Line the Pie Plate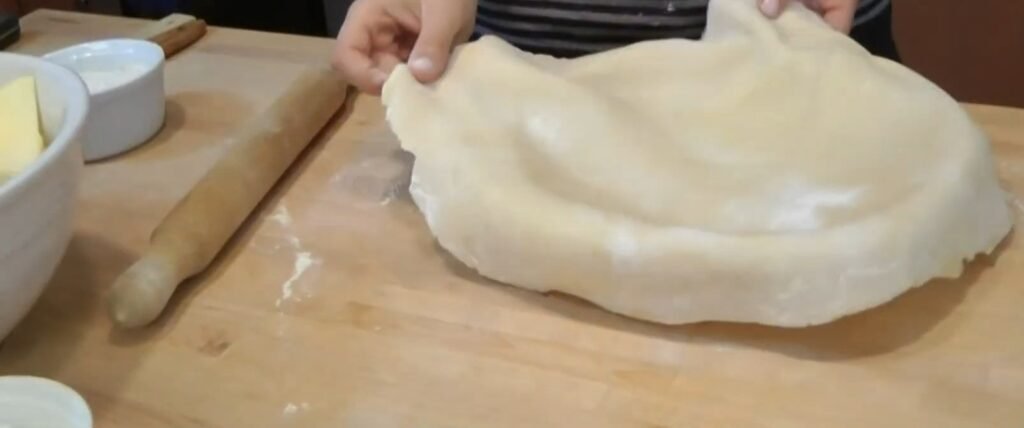
Gently lift the rolled‑out crust and fit it into the prepared pie plate, easing it into the corners without stretching so it does not shrink in the oven. Smooth the dough against the bottom and sides, then let the extra dough hang over the edge for now, as this overhang will be joined with the top crust to create a tight seal.
Step 5: Fill the Pie Shell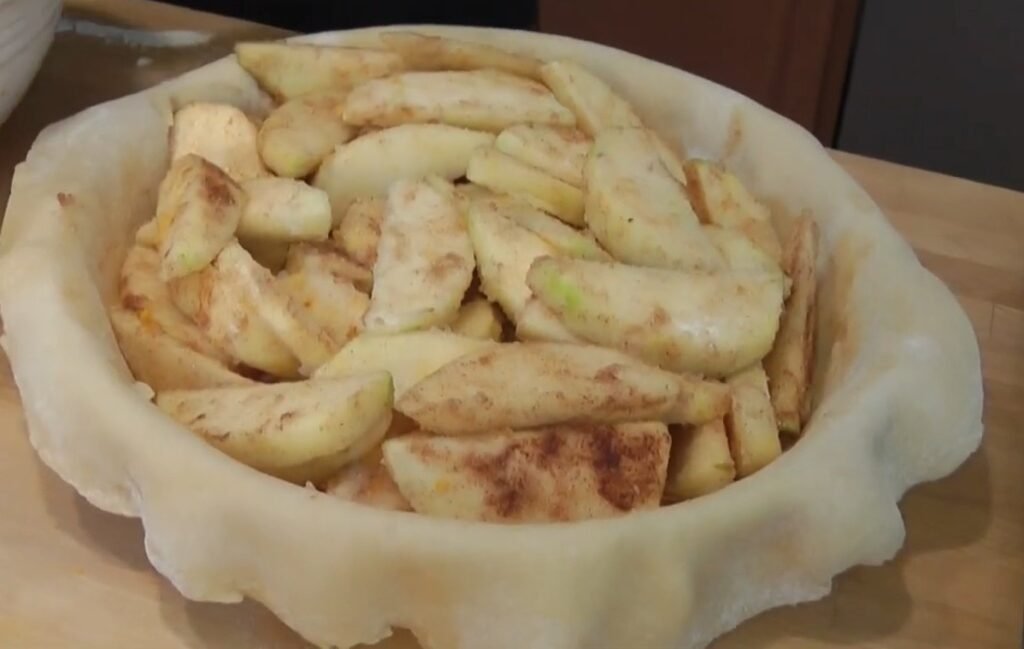
Pour the coated apple mixture into the crust‑lined pie plate, mounding the apples slightly higher in the center so the pie bakes up with a beautiful dome. Use a spatula or your hands to distribute the slices evenly, tucking in any stray pieces so there are no big gaps, because even packing helps the pie hold its shape when sliced.
Step 6: Brush the Edges with Egg WashIn a small bowl, whisk together the egg and water to make the egg wash until no streaks of egg white remain. Using a pastry brush, lightly paint the exposed edge of the bottom crust all the way around; this acts like glue and helps the top crust adhere firmly when you seal the pie.
Step 7: Roll Out the Top Crust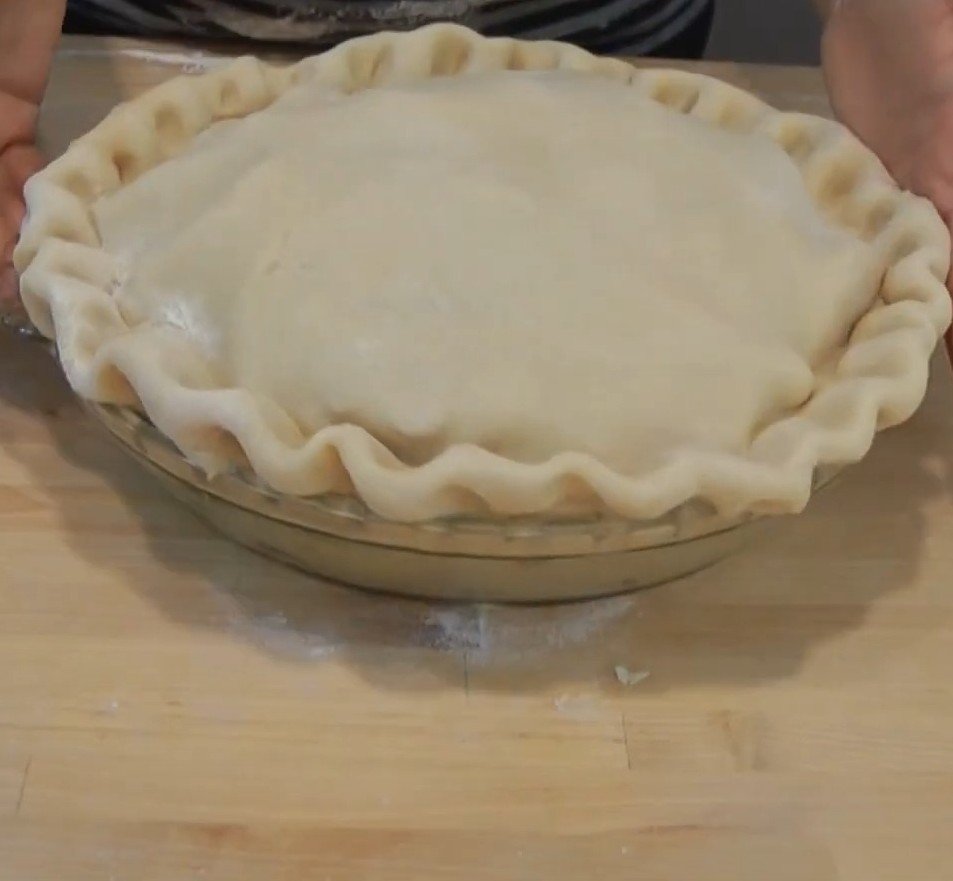
On a freshly floured surface, roll out the second piece of pie dough just as you did the first, aiming again for a circle that will hang about 1 inch over the rim once placed on top. Keep the dough moving and rotate it often so it does not stick, dusting with a little more flour if needed but avoiding too much, which can toughen the crust.
Step 8: Cover and Seal the Pie
Lift the second crust and lay it gently over the mounded apples, centering it so the overhang is fairly even all around. Pinch the top and bottom crusts together where they meet at the rim, trimming any excess so only about 1 inch of dough remains, then fold this edge under itself and crimp decoratively with your fingers or a fork to lock in the filling and juices.
Step 9: Vent and Glaze the TopUse a small sharp knife to cut four small slits or a simple pattern in the top crust, which allows steam to escape and prevents the crust from puffing and cracking randomly. Brush the entire surface of the pie with egg wash to give it a deep golden shine, then, if desired, sprinkle about 1 tablespoon of sugar and a little extra cinnamon over the top for a subtle crunch and added color.
Step 10: Bake the Apple Pie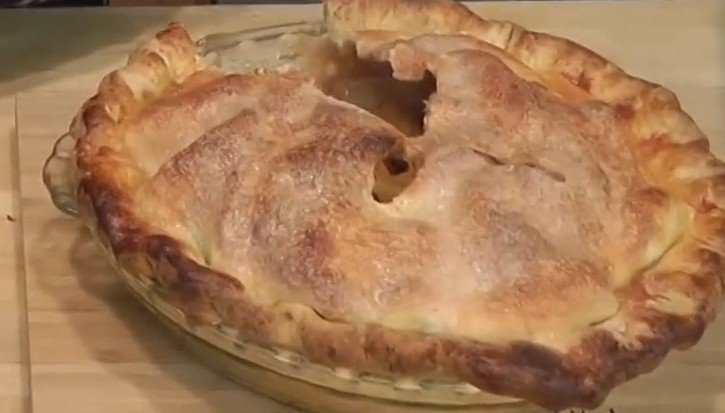
Place the pie on the center rack of the preheated 425°F oven so the high heat can quickly set the crust and jump‑start the bubbling of the filling. Bake until the crust is deeply golden and you can see juices bubbling through the vents, adjusting the time as needed for your oven; if the edges brown too quickly, you can shield them loosely with foil to prevent over‑darkening while the center finishes baking.
Step 11: Cool, Slice, and Serve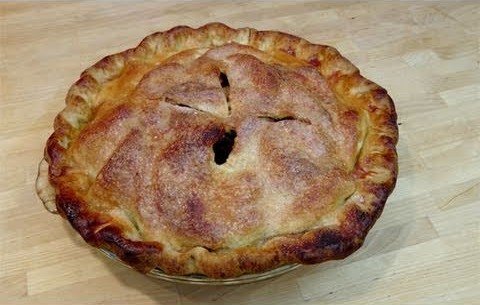
Once the pie is baked, remove it from the oven and set it on a cooling rack, allowing it to rest so the hot, syrupy juices can thicken as they cool. Let the pie cool until it is warm rather than piping hot before slicing, which makes for neat wedges that hold together and are perfect served with a scoop of vanilla ice cream or a dollop of softly whipped cream.
- Prep Time: 30 Mins
- Cook Time: 1 hr